Categorymaking

I make a lot of things using a lot of different materials, and I fail to blog about the vast majority of them. Here are the few things I have written about though.

(For more posts about stuff I’ve made, read my simple living blog: The Really Good Life)

On my camera – November

strange-garden

pottery-cat

lily-strange

first-coil-pot

lily-look

strange-tilda-garden

House Peach words

cat-chicken-coop

yarnalyser

john-scarf

Strange in the holly // my first attempt at sculpting with clay – a black cat, naturally // Lily & Strange relaxing // my first coil pot – before firing // Lily with a funny look on her face // Strange & Tilda in the garden // the House Peach words (a parody of House Baratheon) // Tilda in the chicken coop – I do NOT want to eat her eggs // the Yarnalyser, an old yarn testing machine at the Bradford Industrial Museum // John in his Day of the Tentacle scarf (need to add eyebrows & arms) (to the scarf, not the the John: he already has plenty of both)

Swirly ear warmer

Depending on how you look at it, this is either one of the quickest or one of the slowest makes I’ve ever done.

My ears were FREEZING I got back from my walk with her majesty Lily of Stink this afternoon. No surprise really — the hill and the horses’ field were both still covered in the morning’s frost — but unpleasant all the same. I decided to look for some ideas for crocheted (or stitched) ear muffs but after looking at various options on Ravelry & Pinterest, I decided I’d prefer a band-like ear warmer instead of muffs. “Hmmm,” I thought, “I could knit a pretty swirly one easily enough.” Then I remembered the swirly beany I started making last year? the year before? I ran upstairs and grabbed the half finished hat from where it was gathering dust on top of the chest of drawers in the bedroom – and lo, it was just about the right size for ear warmer.

I had left my hat mid-row so it took me a whole 12 minutes to finish off that row, cast off and put a couple of stitches in the back to double over the back bit (which ever so conveniently gives it a bit of an ear shape at the front). So it either took me 12 minutes to make this or 2 years. Ahem.

Even if I had started it from scratch this afternoon, it still would have been a quick make – that’s why I started making it as a hat. I probably will make a full hat version later this winter – probably in a less sludgy colour – but this will keep my ears warm in the meantime and tuck neatly away in my pocket when I don’t need it. Double yay.

Experiments in needlefelting – Louisa’s Midnight Garden

After trying my hand at wet felting over the last few months, I was intrigued by the idea of needlefelting – less guesswork and easier to make 3D items so got myself a starter kit a few weeks ago.

So far I’ve made a few basic (flattish) shapes using paper templates and a few 3D things, but this was my first picture – misc flowers on a mixed blue backdrop:

needlefelting-flowers

I liked the extra control I had over positioning of, for example, the stems, and shaping in general — and I especially liked being able to work on the sofa rather than stood up, getting soggy in the kitchen. But aside from that, I think I’ll stick to wet-felting for this sort of thing.

Whitby beach vector pic

Something I’ve been playing with today. A digital doodle-type sketch that I’ll make into some sort of fibre art/embroidery pattern one day.

Blogtoberfest 2012 – Corkboard string art, now with added string!

In an effort to get back into the habit of blogging regularly, I’m taking part in Blogtoberfest 2012 – at least one post a day on at least one of my blogs (full list of the posts).

I finally added string to my corkboard string art/house number project the other day.

string-art-2

I just used some cheap black cotton embroidery thread – it was a little splitty on a couple of occasions but other than that, it worked well and I like the weight/thickness of it. All one colour – I wanted it stark.

The stringing was a combination of enjoyably repetitive and frustrating at times – if the string got snagged on the wrong pin or if I couldn’t work out how to string it efficiently/neatly without duplicating or missing out bits. It’s not perfect but because I didn’t plan the number of pins or their spacing I would have been absolutely shocked if it had been. (I’m reasonably happy with it being imperfect but there is a contrast between the sharpness/neatness of the font: imperfect would look just … perfect with a less formal font, such as the one Dina used.)

string-art-3

The pins flipped out of the corkboard very easily during the threading but I decided to push them all right in to give them more support – which has pinned the string against the board so I don’t get the nice shadow effect thing any more. I still like it though – it feels like a real life version of the Scribble font I used on my photo “captions” ;)

string-art-1

All in all, it was a quick, easy and cheap thing to try and I think I’ll give it another go sometime soon. I’d like to make a colourful spirograph-esque circle perhaps or some other nod to retro string art designs. Something a bit more precise to excite my perfectionist glands ;)

Blogtoberfest12 – Day 2/Make 2: Corkboard (string) art

I’m taking part in Blogtoberfest 2012 across my various different blogs – at least one post a day for the month of October to get me back into blogging regularly again. I’m keeping a (growing) list of those posts for anyone interested!

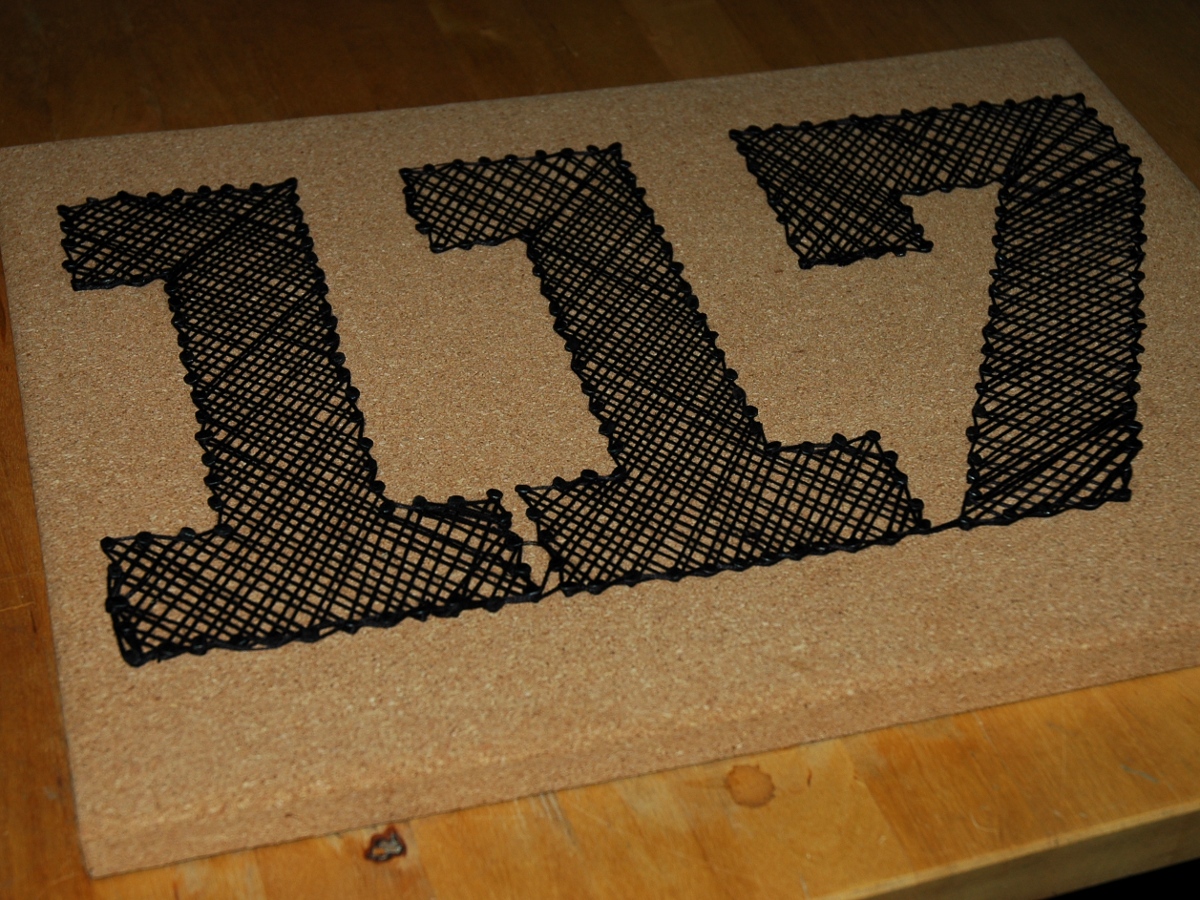
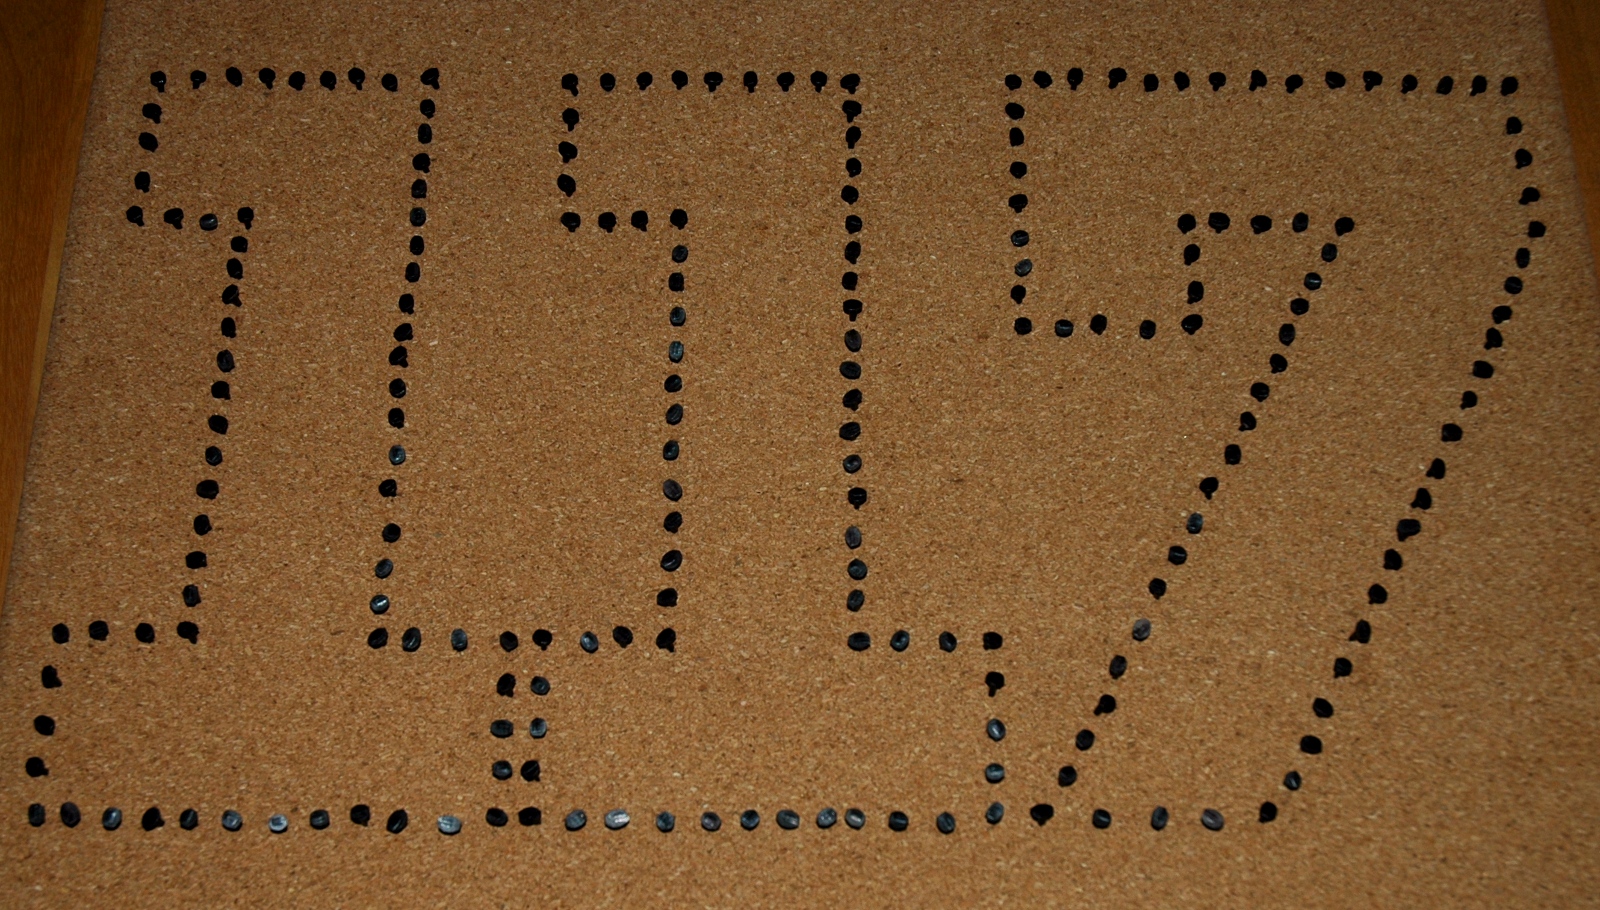
A bit like yesterday’s post, this is a half-finished make at the moment. This would have been finished if I could find my ball of black crochet cotton but since I can’t, it’s currently string-less string art/thread art. eBay is providing a new (to me) ball of black crochet cotton so I’ll post finished pics (and better pics in general) when that arrives tomorrow/Thursday but, you know, Blogtoberfest2012 demands daily posts…!

string-less-string-art

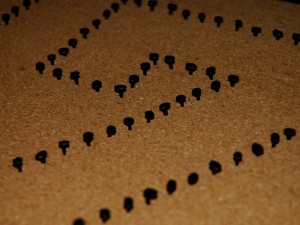
I’ve been wanting to try making some string art for a while but have always been put off by the idea of having to hammer in lots of little nails. Then I found Dina’s string art tutorial which uses corkboard so no hammer required and it’s pretty forgiving (I moved a few pins but with the naturally open cork texture, it’s hard to see the wrong holes). I was even lazier than Dina though and just used a cork noticeboard – £2 from Wilkinsons. They used to have ones in wooden frames but I prefer this apparently frameless type (there is a hidden frame structure, which makes it pretty strong and ready to hang).

cut-tacks-close-up

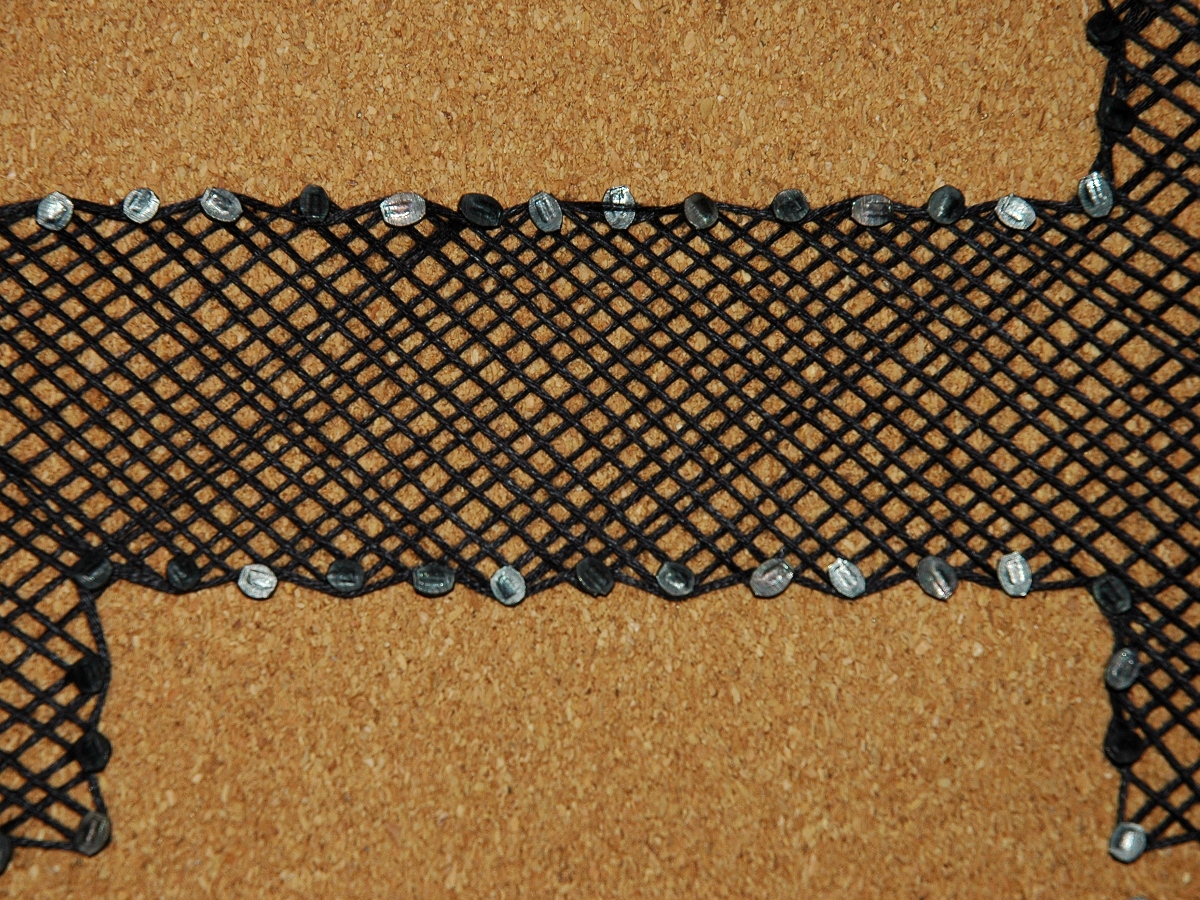
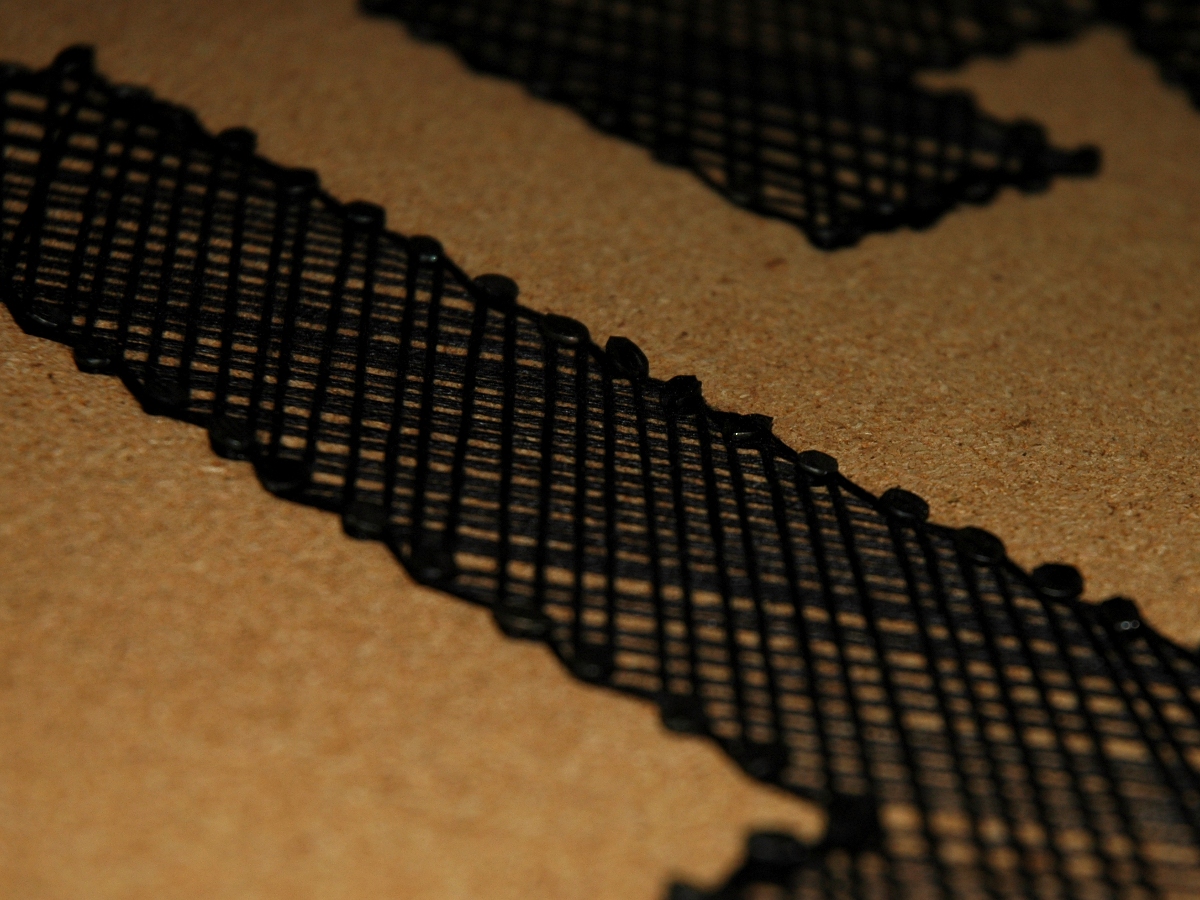
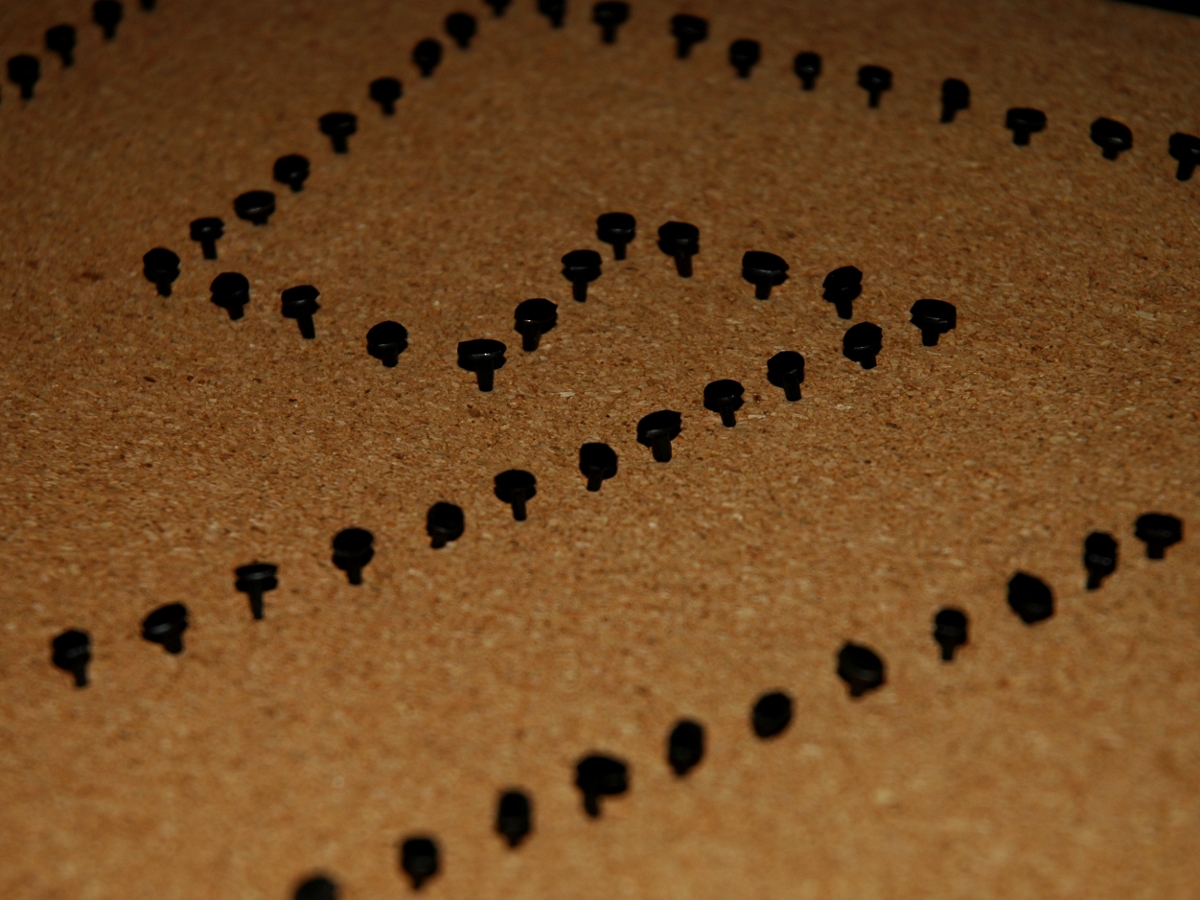
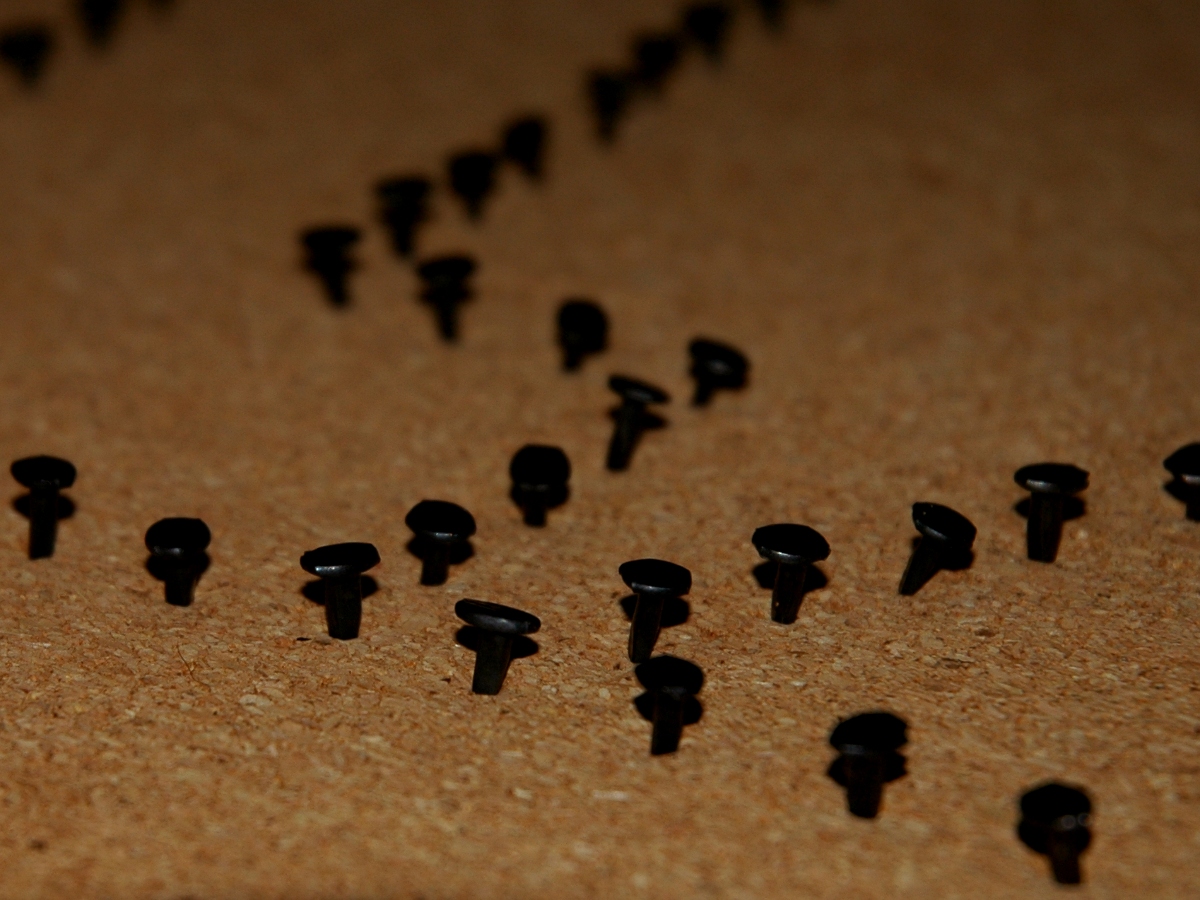
I’ve used 10mm (3/8″) cut tacks instead of pins – I tried panel pins but the test string slipped off them more easily and I like the mock-industrial dark metal look anyway. As I said, the string will be black too and when I’m stringing it, I’ll even up the heights/positions of all the tacks so it looks a bit neater in general (seemed little point in doing it now).

string-less-string-art-00

It’s our house number and will hang in the (very visible from the road) porch. The house exterior is currently dirty cream & green (bleugh!) but we’ve been meaning to re-do it since we moved in to (off-)white and black, and all the other stuff I’ve got in the porch is monochrome in anticipation of that. Hopefully this will both look good finished and coordinate well with the other stuff in there. If it doesn’t, well, at least it was quick, easy & fun — and I can take it all apart again to reuse in some other way.