John and I have wanted to learn how to screenprint for a while but couldn’t commit to an evening-a-week class – so Factory4‘s day course on Saturday was ideal for us — and great fun.
John had screenprinted before at school but the techniques we used on Saturday were far more advanced than he had used before. Rather than having to laboriously cut out stencils by hand, Factory4 use photo emulsion which transfers any grey scale image onto a screen – hand drawn sketch, clipart, a photo anything. I was delighted to here this as I find it easier to design stuff on the computer than draw it by hand – and cutting things out by hand is more difficult again. Using the photo emulsion method, I can just print out my work, “develop” it onto the screen then print away.
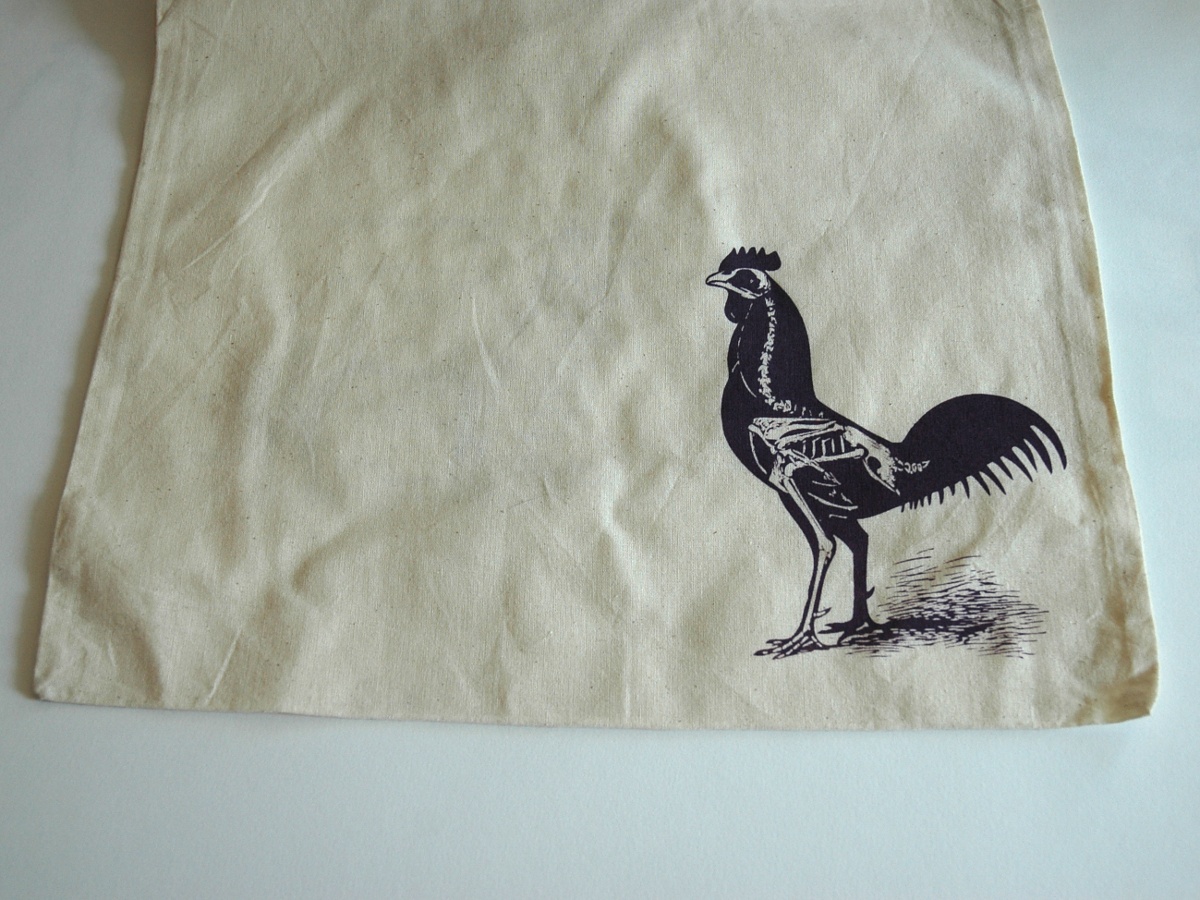
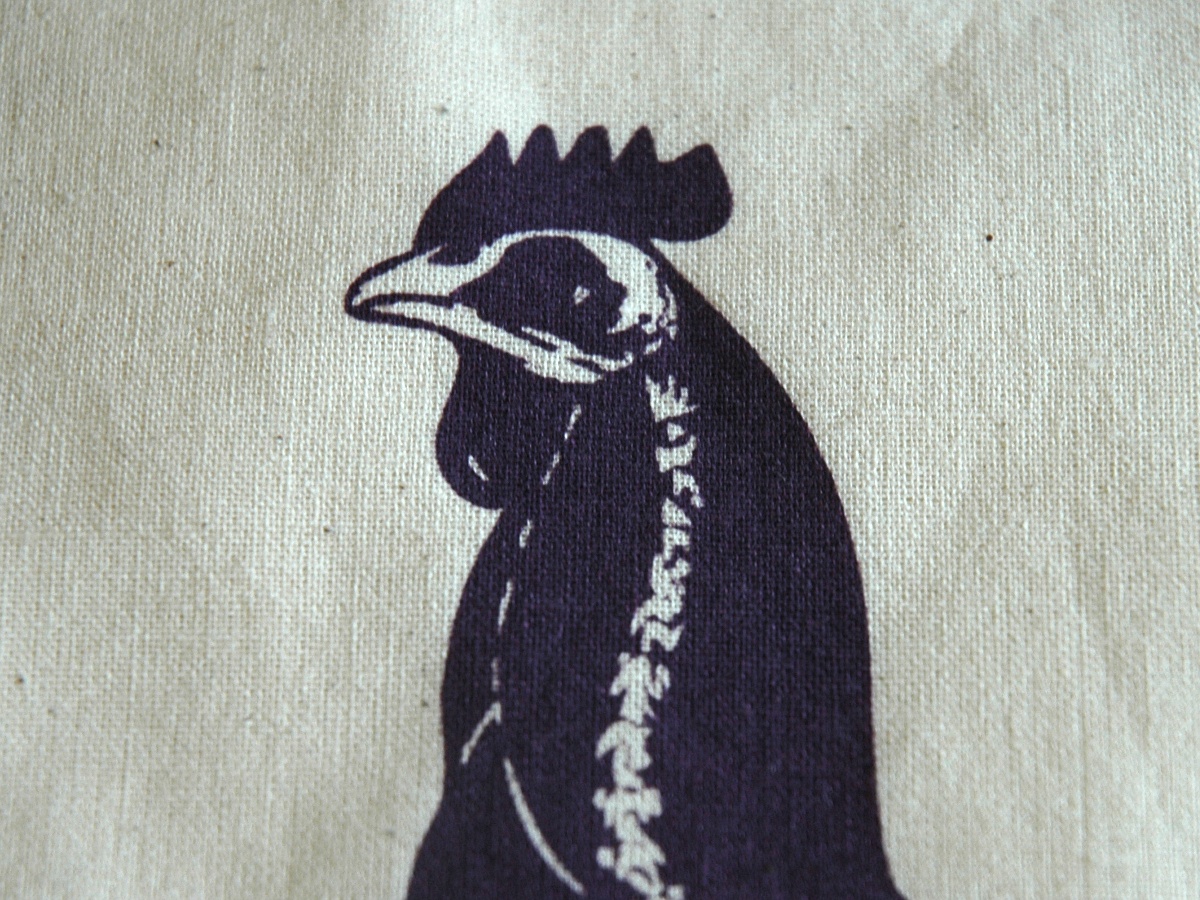
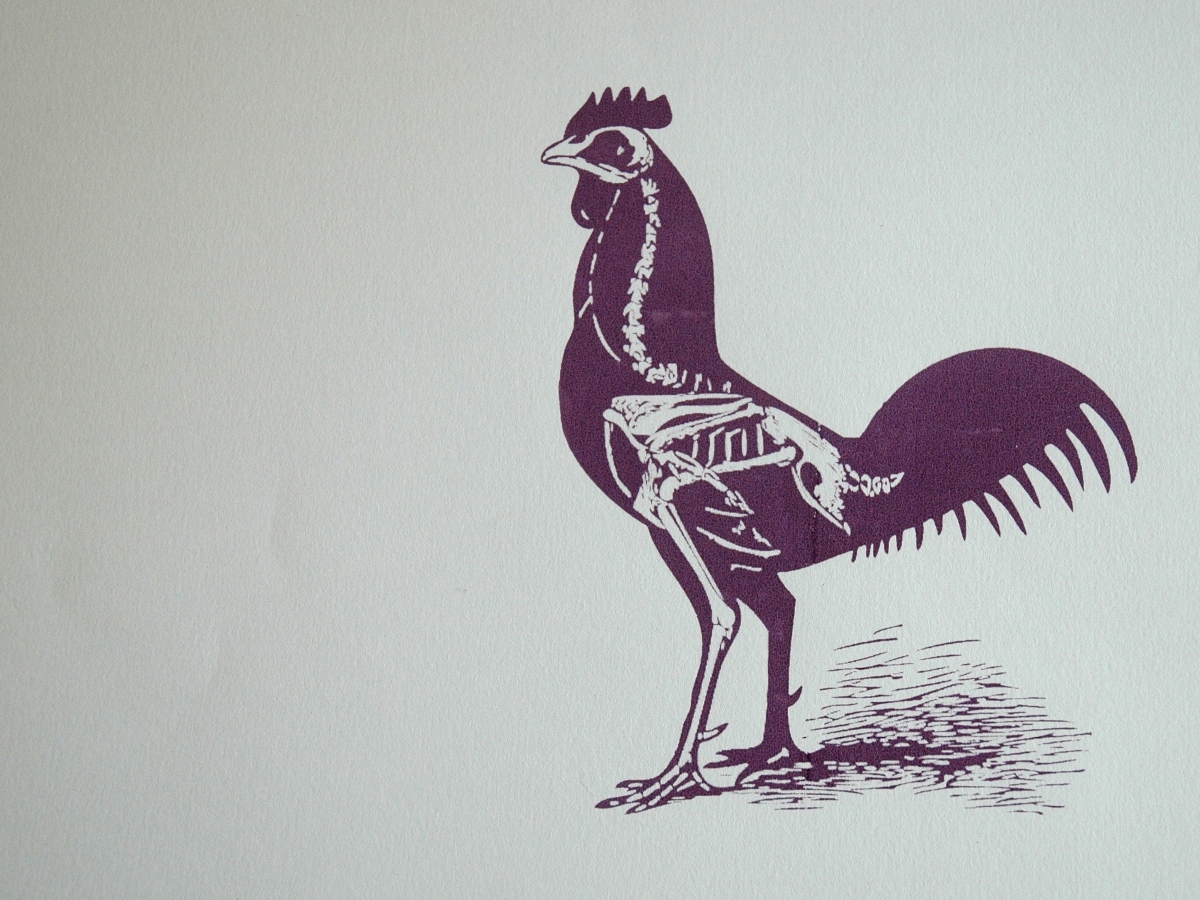
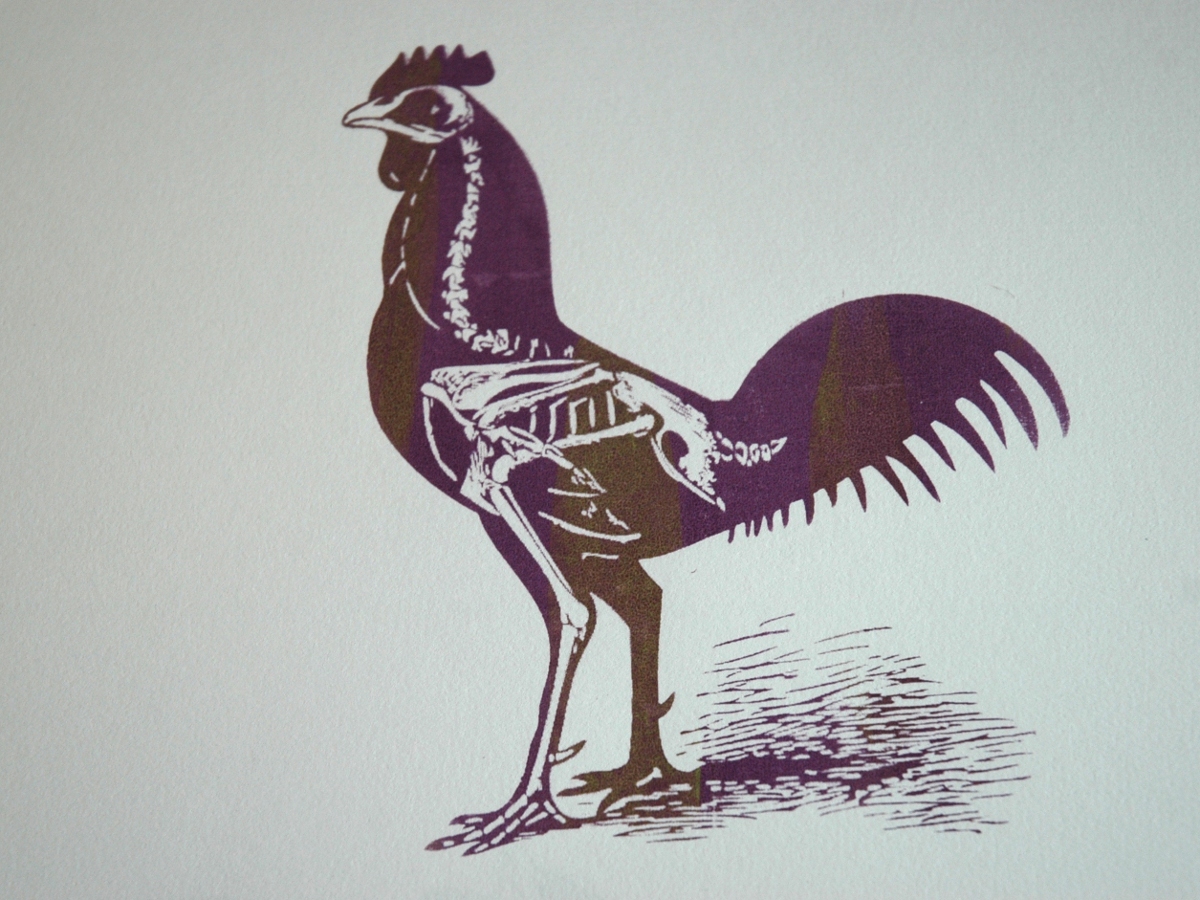
Our first test prints were just using clipart provided by the tutor, Gina – to learn the process, the basics of printing and introducing different colours – but in the afternoon, we got to design (or at least print out) our own images. I wanted to do a Really Good Life chicken but couldn’t modify the image on their computer so ended up getting another chicken to print instead – and found this fine skeletal specimen. After mixing a darker purple ink than the standard purple provided, I was really happy with print.
I tried colour blending with a bit of green too – wish I’d tried some more of those.
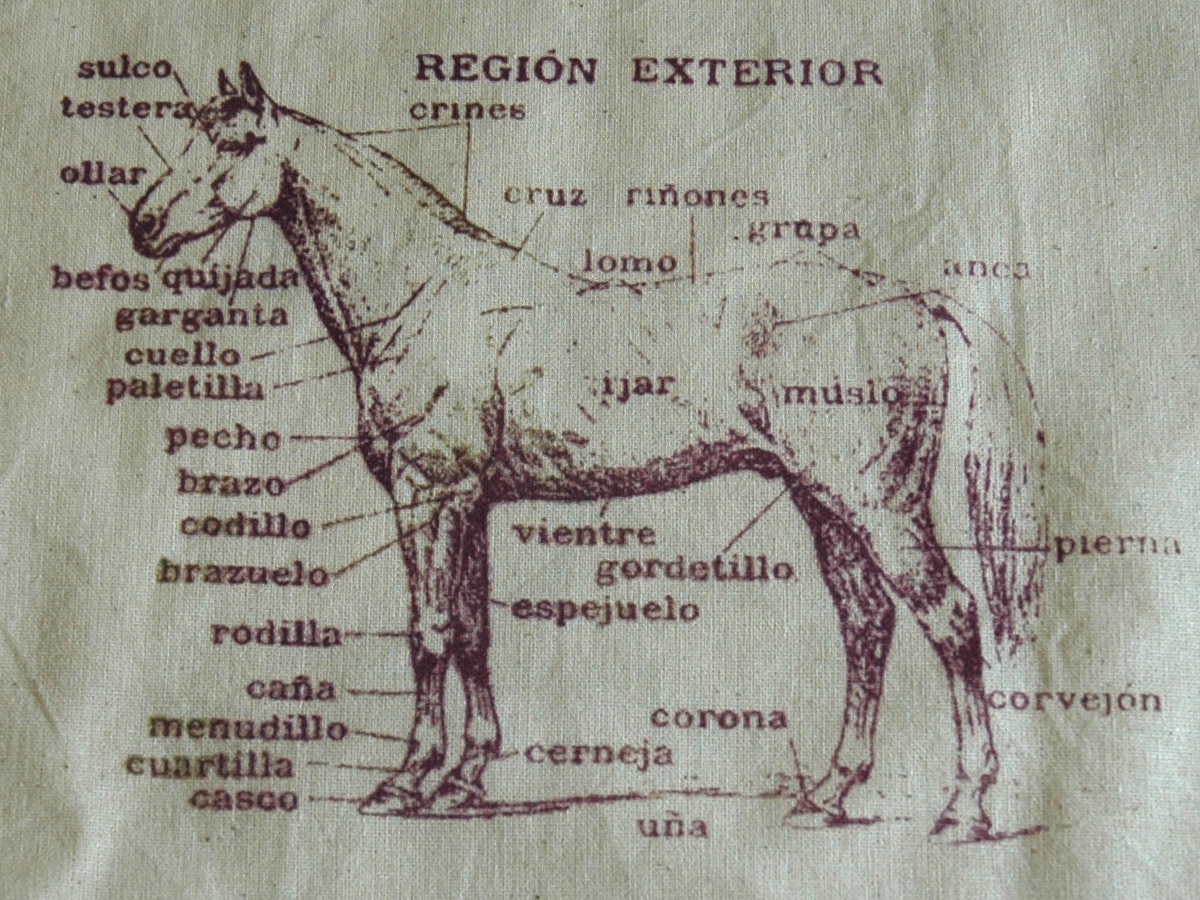
But, most excitingly, we got to print our designs onto cotton bags – I did my chicken on one side (which I think came out beautifully, although the ink is a lot darker than on paper) and John’s horse diagram on the other.