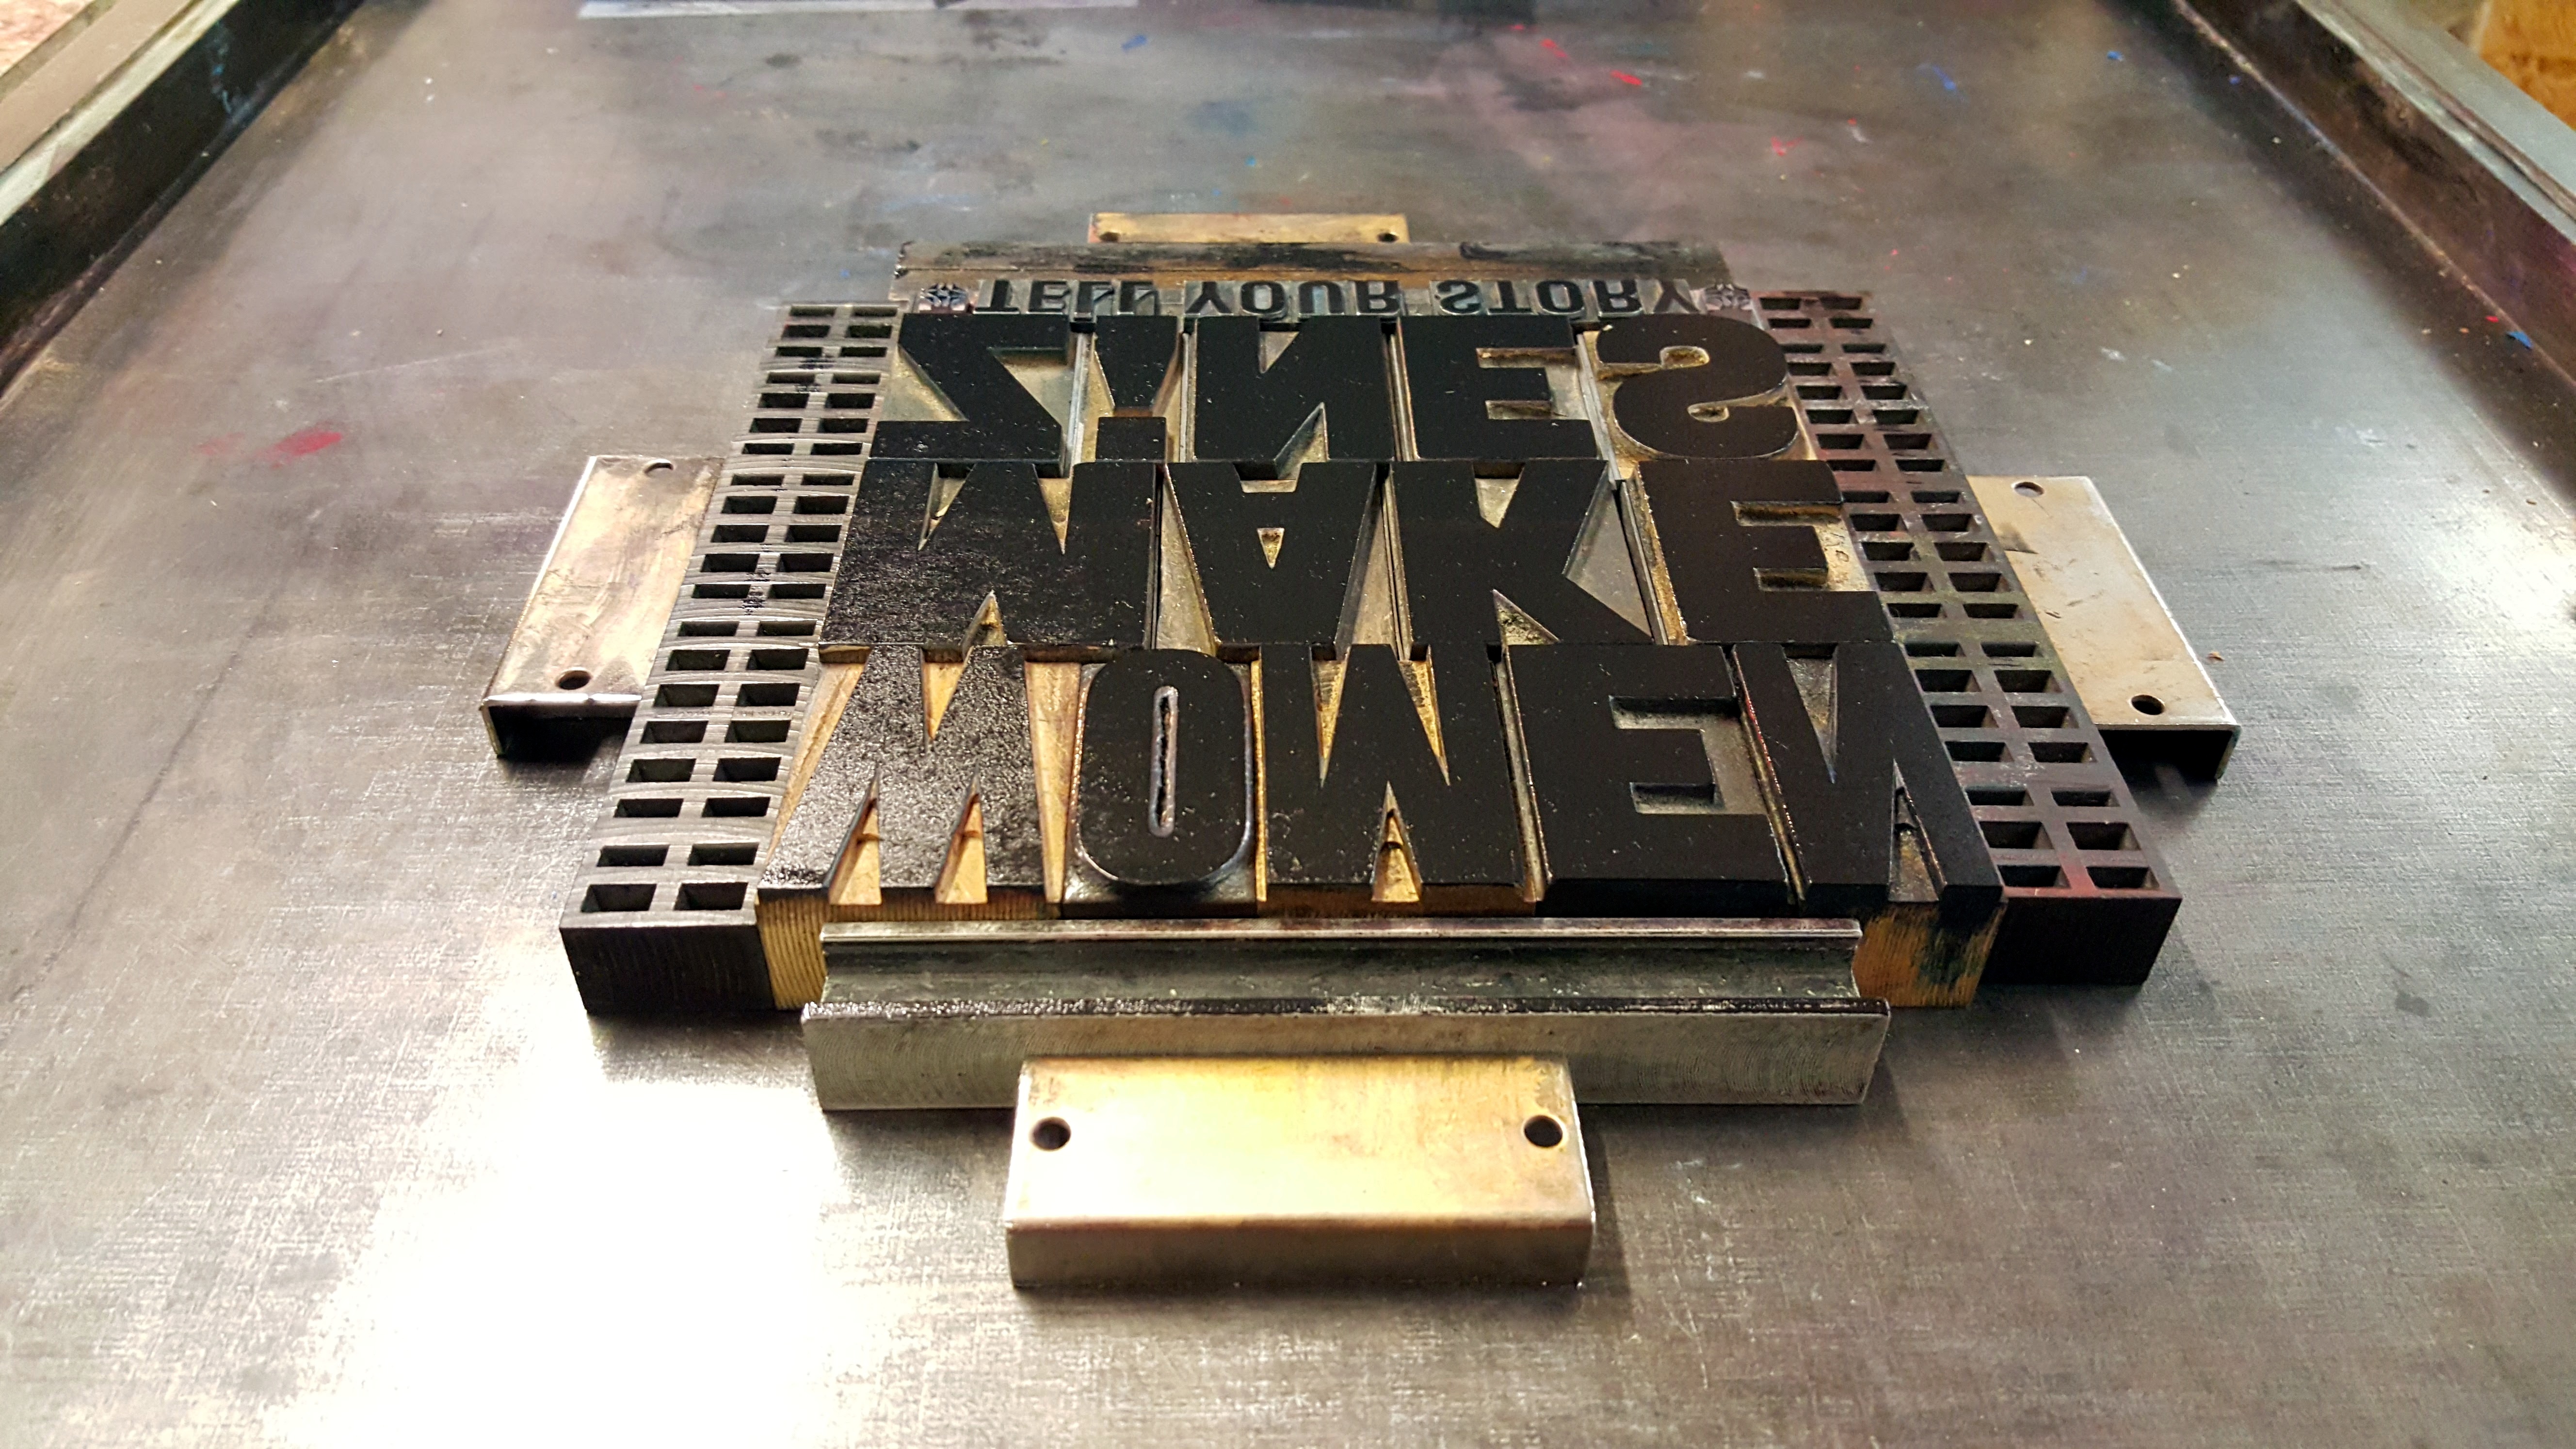
Women Make Zines letterpress
I make a lot of things using a lot of different materials, and I fail to blog about the vast majority of them. Here are the few things I have written about though.
(For more posts about stuff I’ve made, read my simple living blog: The Really Good Life)
In super-excited anticipation of the imminent arrival of my rigid heddle loom, I thought I’d play with some new-to-me fibres that one day might make suitable warps.
For warp threads, you need strong threads that aren’t too “clingy” (so they don’t bind with the wefts on the way past) and unless you’re purposefully going bumpy, they need to be even and evenly (slightly over) spun. I had another couple of criteria for my warps: could be spun strongly and evenly enough to be able to use a single (rather than plyed) to save time, and ideally, relatively cheap since I’ll ultimately use a lot of it. The cheapness is probably the least important of my criteria – there is no point spending all that time spinning and weaving something for it to be let down by shoddy materials, but it’s part of my criteria all the same because I’m a tightarse.
I picked five fibres from my stash that I hadn’t tried spinning before (I’d used them/bought them for felting). They’re all “neutral” coloured (either natural or bleached), meaning I could dye them or leave them to contrast with colourful wefts. They are: (left to right) Swaledale wool tops, cotton noils, Texel wool tops, ramie tops, and flax tops (tow) to make linen thread.
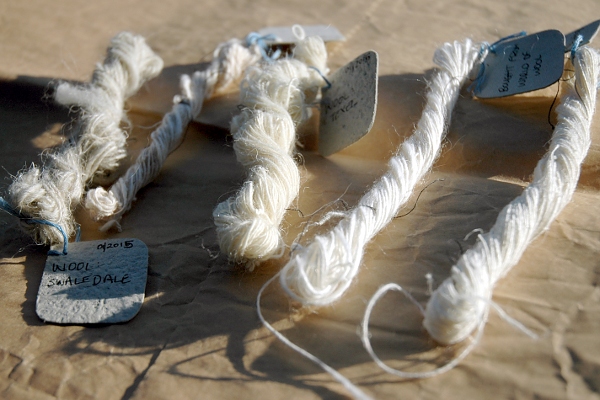
(Shadowtastic photos because it’s winter.)
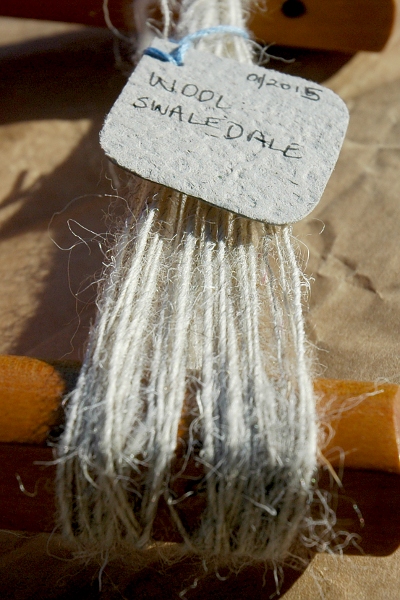 I picked up a bag of Swaledale right back in the day – because it’s one of my local sheep breeds – but haven’t found anything to do with it yet. It’s a pretty coarse wool, with a decent staple length, and unbleached, it’s a pleasantly natural soft grey colour, with darker and lighter fibres.
I bought it for felting, because I thought I could use it to strengthen a merino cat cave, but it didn’t want to play with the much softer wool and I struggled to get it to felt well. Next, when I first got my spinning wheel, I did try spinning a little of it – partly because I didn’t care if it went to waste. I put my lack of success down to my lack of experience so I thought I’d try it again.
… Meh. It spun much better now my wheel runs smoother and I’ve got a better handle on the technique but it’s still not great. The resulting yarn is rough in both texture and appearance – it has a very prominent, wide halo around the core. It’s strong as a yarn but wayyyyyy too fuzzy to be a (standard) warp.
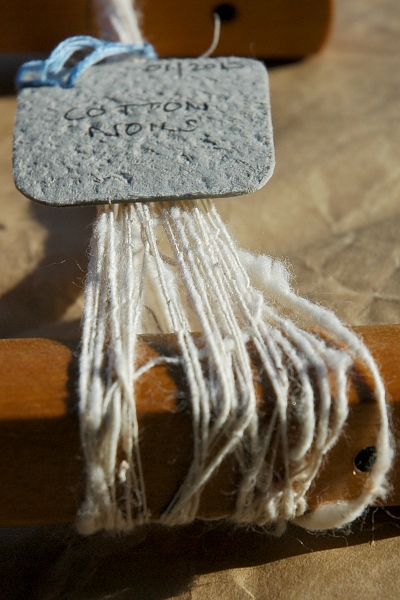 I like wearing cotton but have had mixed success with manufactured cotton yarns as they tend to be splitty and there is surprisingly little choice if you want a high cotton content. I like the idea of weaving cotton items – but I won’t be doing it with these noils.
Noils are, essentially, a waste product: the short fibres left over after the premium fibre has been combed. Cotton noil looks like slightly grubby cotton wool balls: mine weren’t bleached to optic white (unlike cotton wool) and as well as slubs and kinks, they included little bits of vegetable matter.
Because the staple (length of individual fibres) is short, I knew it would be hard to get a good flow while spinning so I spent a lot of time carding the noils in advance to see if that would help things along. It did and it didn’t. I could spin it but my hand carders couldn’t get it smooth enough to make it flow evenly. It suffered from both little tiny nepps and larger slubs, and it became easily overspun, even when I dropped down the tension as low as it would go.
I did start to get the hang of it eventually but with its short staple and my inelegance, I doubt I’ll be able to make a strong enough warp out of it for a long while.
Given my love of cotton though, it’ll probably be worth trying to card it with something else to achieve a blend – for use as a weft fibre only though.
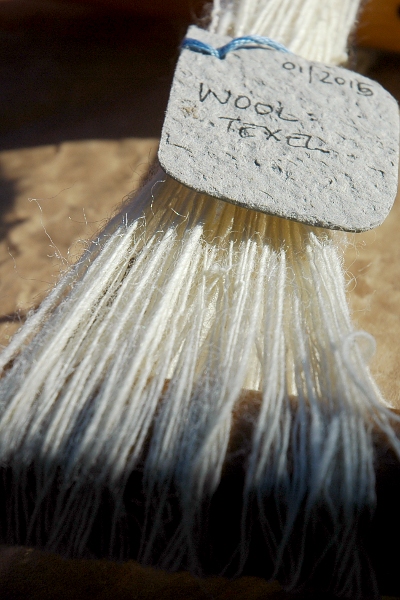 Texel feels a bit … I don’t know, cheaty. It’s a relatively new cross-breed sheep compared to the traditional breeds such as Leicester, Shetland, Herdwick or Swaledale. I like supporting traditional breeds etc but I thought I’d try this one too (it’s cheaper!) – and perhaps it was just because it came straight after the cotton but boy, am I glad I tried it.
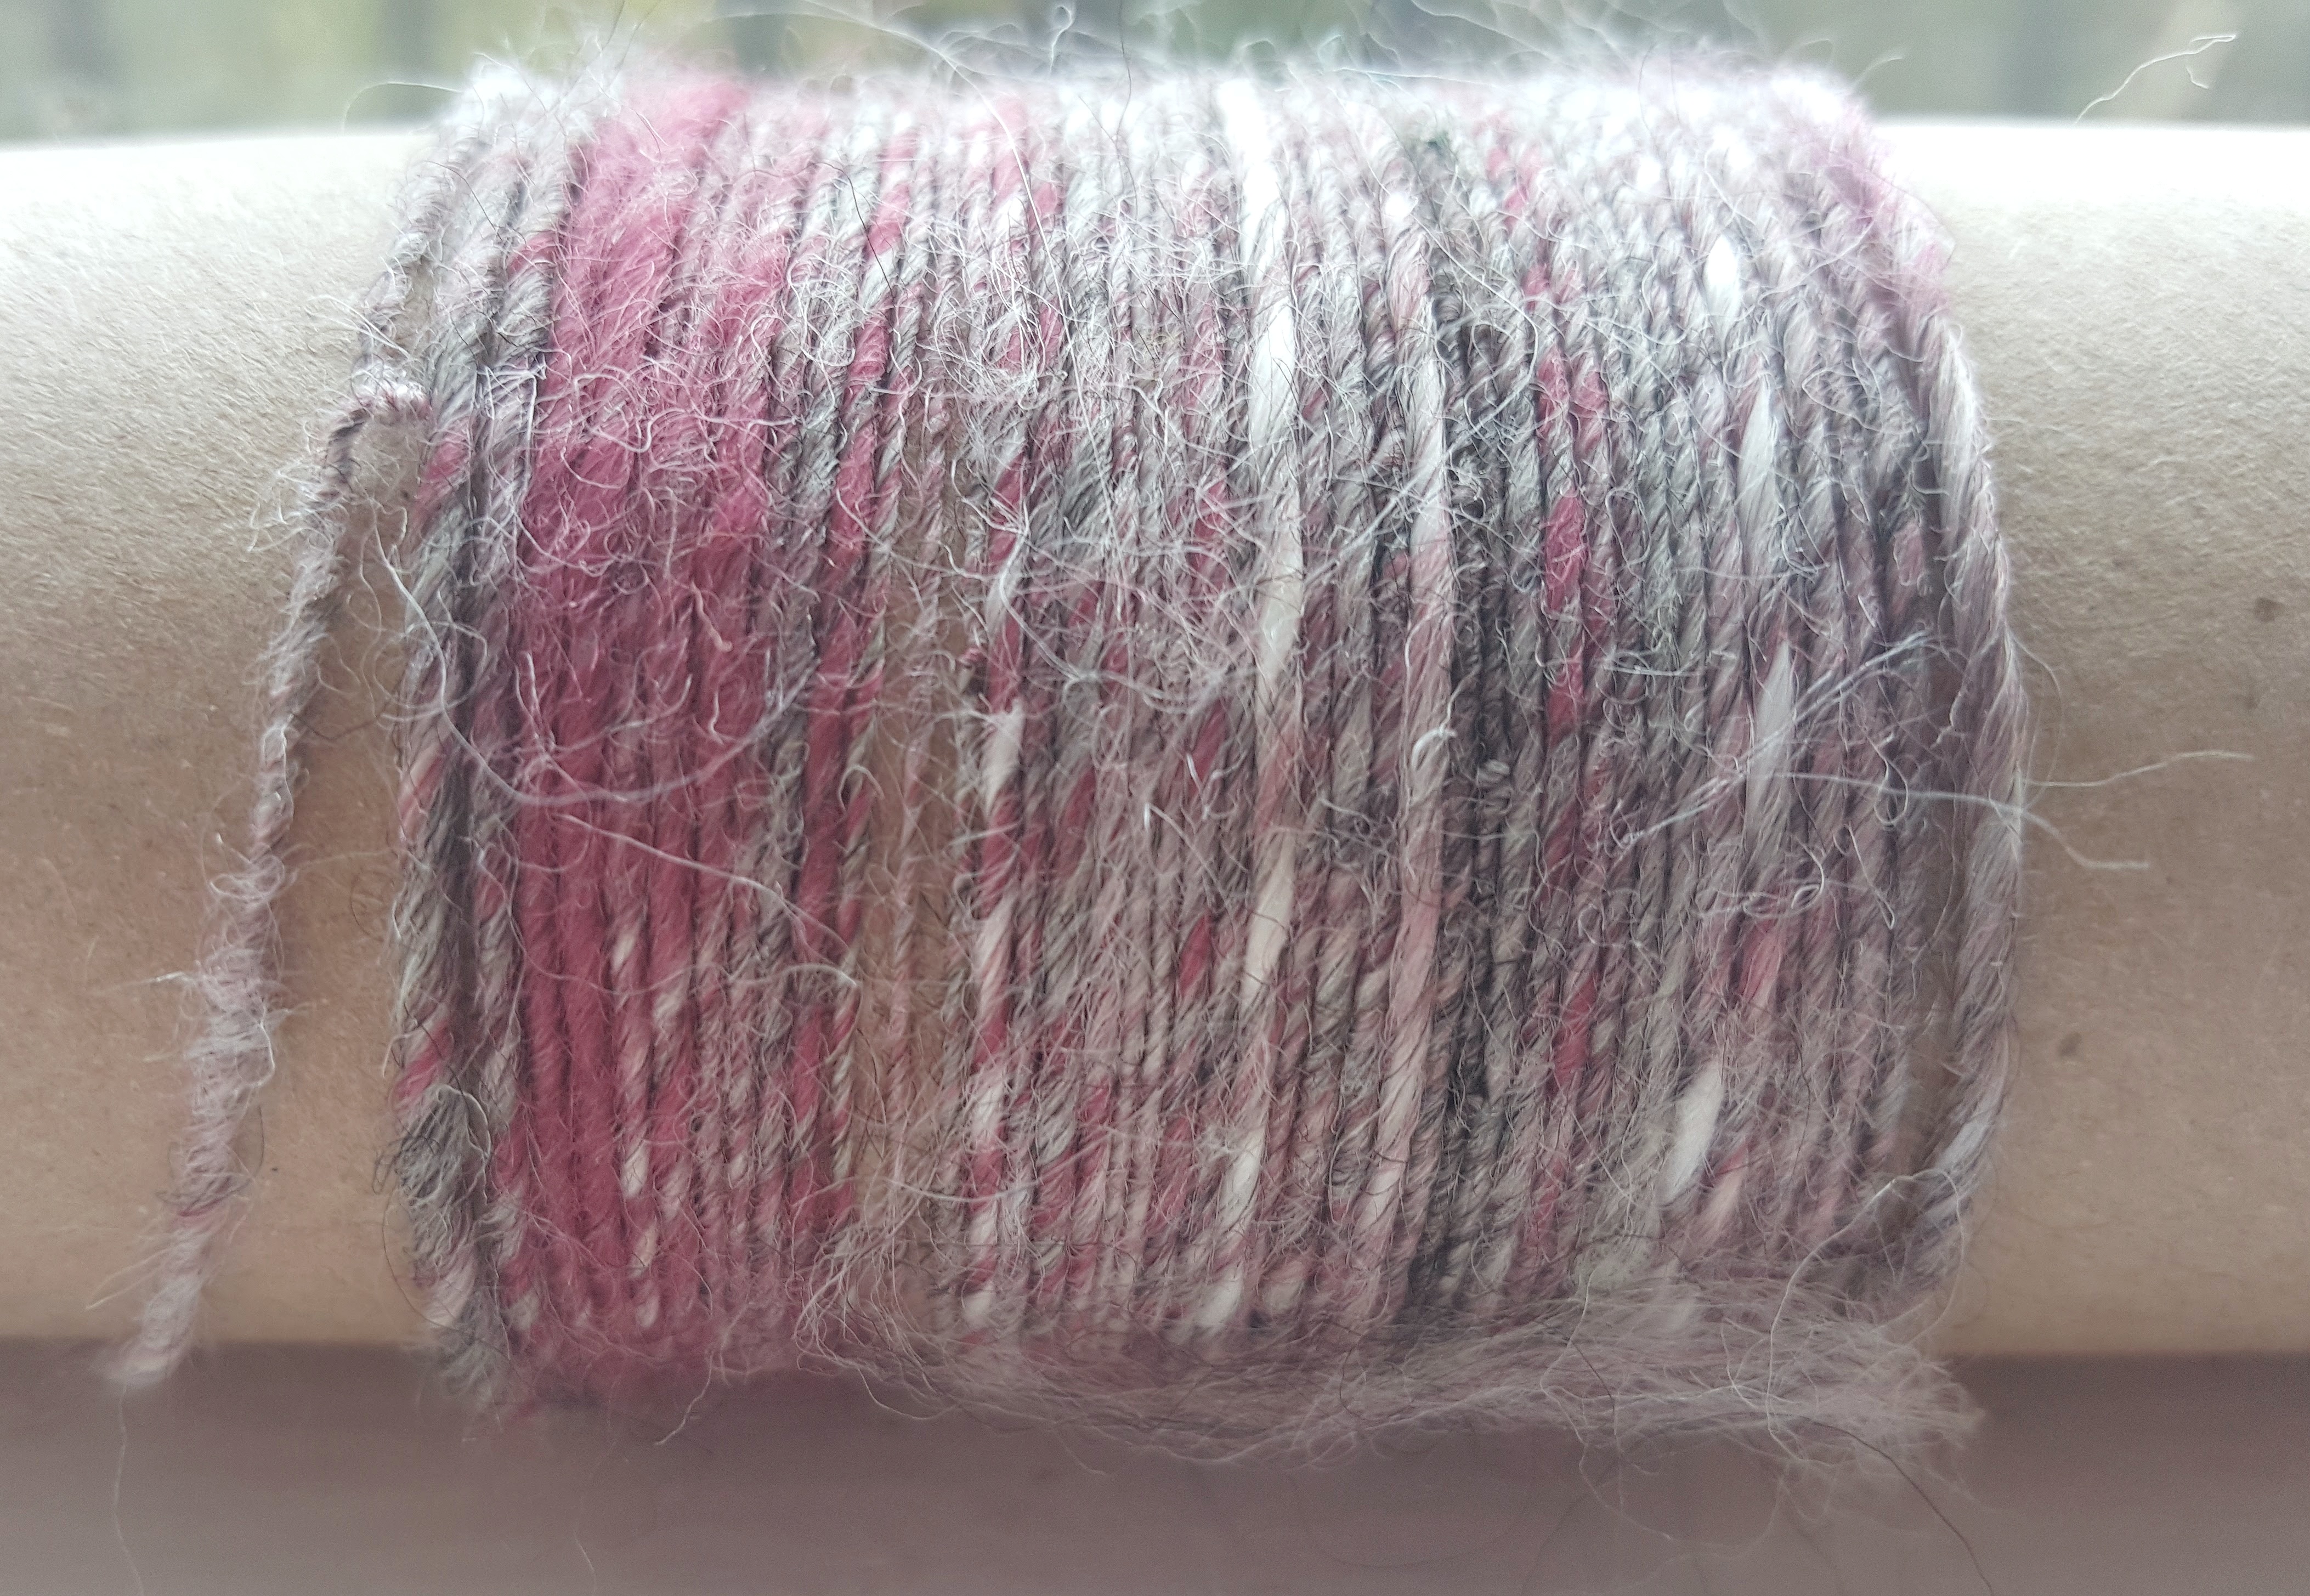
Its wool is smoother and more consistent (in colour & texture) than the Swaledale – these prepared tops were more like prepared merino than the Swaledale, though they felt a bit stronger/coarser than that fluffy stuff.
It flowed beautifully onto the wheel – one of the first fibres I’ve been able to spin directly from the tops without any pre-drafting – and, though the picture suggests otherwise, the resulting yarn was fairly even, with no slubs. It does have a bit of a fuzzy halo but nothing like that around the Swaledale.
The yarn also seemed pretty strong enough though I spun it fairly thinly (perhaps 25WPI) – I would be relatively confident in spinning up a batch of this to use for a warp.
The only downside is that it’s a slightly lemon white: that’ll work with some of my yarns but clash with others. I can, of course, dye it and maybe other batches of tops won’t be quite as off-white.
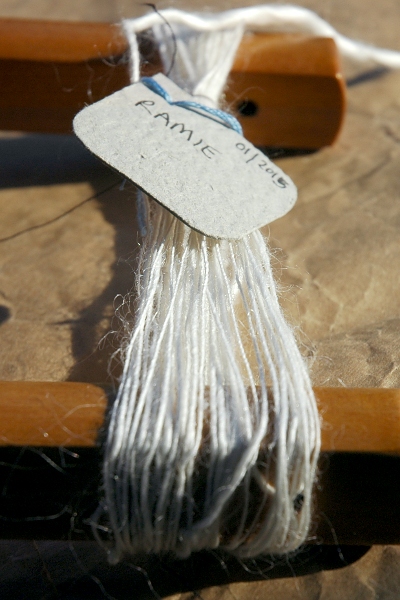 Ramie doesn’t have a lemon problem – it’s a clean bright white – but on its own, that’s just about the only thing it’s got going for it!
I thought it would be relatively easy to spin. Its fibres are straight (compared to kinky wool) and silky, and they look like they’ll flow over each other smoothly … but no. They clung to each other incredibly tightly and I found it very hard to draft on the go. Because of that, my thread ended up running thick and thin – which obviously impacts the overall appearance and strength of the yarn.
Handling it was surprisingly squick inducing – it felt like I was spinning a cheap synthetic wig (specifically, given the colour, a cheap Mother of Dragons/Targaryen wig) and it shed like crazy. Not fun.
I couldn’t abide spinning enough of it for a warp but I am very tempted to try using it as a silk-substitute, blended into merino and carded.
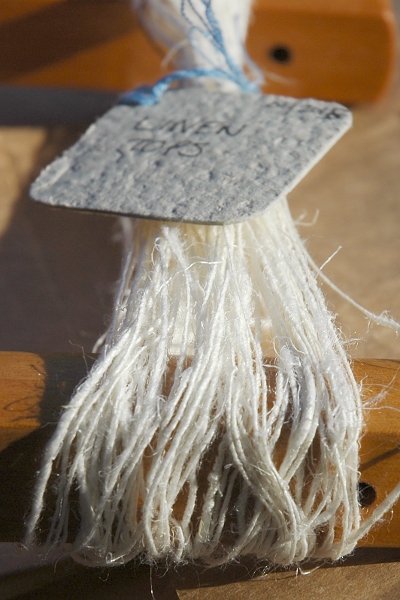
Last but not least, I tried prepared flax/linen tops – something I’d been wanting to try for a while and also something I have high hopes for because I like the idea of a woven linen/silk scarf.
After the ramie and reading all the advice about spinning rawer flax, I thought it would be a nightmare but it was not as awkward as I’d feared. The fibres are a lot rougher than ramie but for some reason, they didn’t cling to each other anywhere near as much. Because of that, drafting was easier and I managed to spin a surprisingly even thread from the get-go.
It started off looking as rough & scratty as the Swaledale but I had read about smoothing it down with a little water as you go – and that really worked. (Fun fact: traditionally, wheels used for spinning flax had a little depression near the flyer to hold water. I like the idea of that for some reason!) Once smoothed, it looked just like waxed linen thread – not quite as matte as the cotton but quite flat, with large visible fibres and a pleasant solidness. It’s a bit stiff but I assume that will soften with washing.
Along with the Texel, I think this is another possible contender for a homespun warp thread. I’ve got some manufactured linen thread ordered so I’ll try that first but I’m up for giving it a go myself. I even like the idea of possibly using one of my allotment beds to grow some of my own flax – I’d never be able to grow enough to really make enough of it, but I like the idea of having grown it, spun it, dyed it then woven it — and for now, linen is just about the only fibre that I can do that with.
So all in all, it was fun – even the frustrating bits. The Swaledale is going to go back into the depths of my stash; the ramie & cotton will be blended with (merino) wools to see if it makes them more usable and/or creates a yarn that’s worth the effort; and the Texel and linen will stay close to hand for when I want to start experimenting with my own warps. Glad I gave them all a go.
Another long and picture heavy ceramics post! ;)
 In March, I started a Sculptural Raku course at Hive Bradford.
The ten session course used to be called “Angels and Acrobats”, with the focus on building sculptural figures that really come alive in a beautiful way when raku fired. To inform the figure building process, the course included two life drawing sessions and another session where people could sculpt models from the life drawing model, Sue.
I somehow missed the sculptural/figure focus when I signed up for the course: I’m not particularly into sculptural ceramics work in the first place (I like bowls and pots, mmm bowls and pots) and the life drawing fell during a super busy fortnight for me and pushed my social anxiety stuff over the edge. Thankfully the lovely tutor and I came up with a compromise: I researched animal figures from early civilisations and while my class mates finished off their sculptures of Sue, I made a herd of minoan bulls, a hittite-ish horse and a reptile/crocodile inspired by a picture I found in a book about Aboriginal art. (I made a Pinterest board as part of my research; it also includes Joan Miro and other chance/automatic art, as I was considering going down that route for a while too.)
We then had a couple of weeks to work on our own sculptural pieces for raku firing: I made a family of Meeple, an Etruscan-inspired horse, and … a couple of bowls – I couldn’t resist ;)
There was then a pause for a couple of months as the tutor was off sick but we finally fired our pieces over the last fortnight.
The Raku firing process is very different to our normal firing: the pieces were fired to “bisque” in the electric kiln as usual, but then, instead of glazing and firing in a very slow, controlled fashion (and cooled down in the same slow, controlled fashion), Raku is very fast and exciting, involving lots of red hot stuff and fire. (Yes, fire fits in the “red hot stuff” set but I wanted to highlight that the process involves flames. FLAMES!)
Raku firing takes place outside. The pieces (which are made with a “grogged” clay, to be slightly less susceptible to thermal shock) are heated in a gas kiln until the glaze is molten – the clay body itself doesn’t look that hot but boy, it is – it’s about 800C! Then, a daredevil opens the kiln and using a pair of metal tongs, transfers each piece into the reduction kiln – aka a “mucky dustbin” about one-third filled with sawdust. The sawdust immediately bursts into flames, a little more sawdust is thrown on top then the bin is covered with a lid (and damp cloths to reduce the smoke leakage).
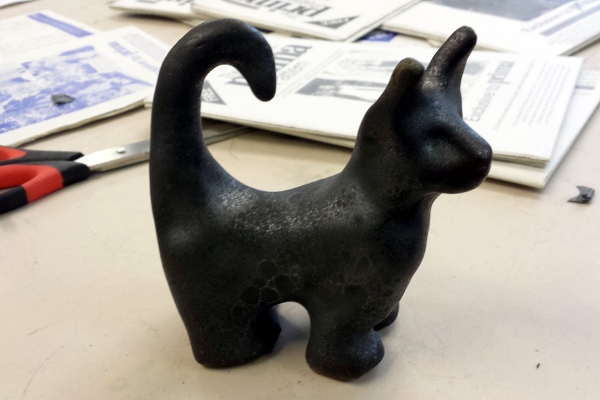
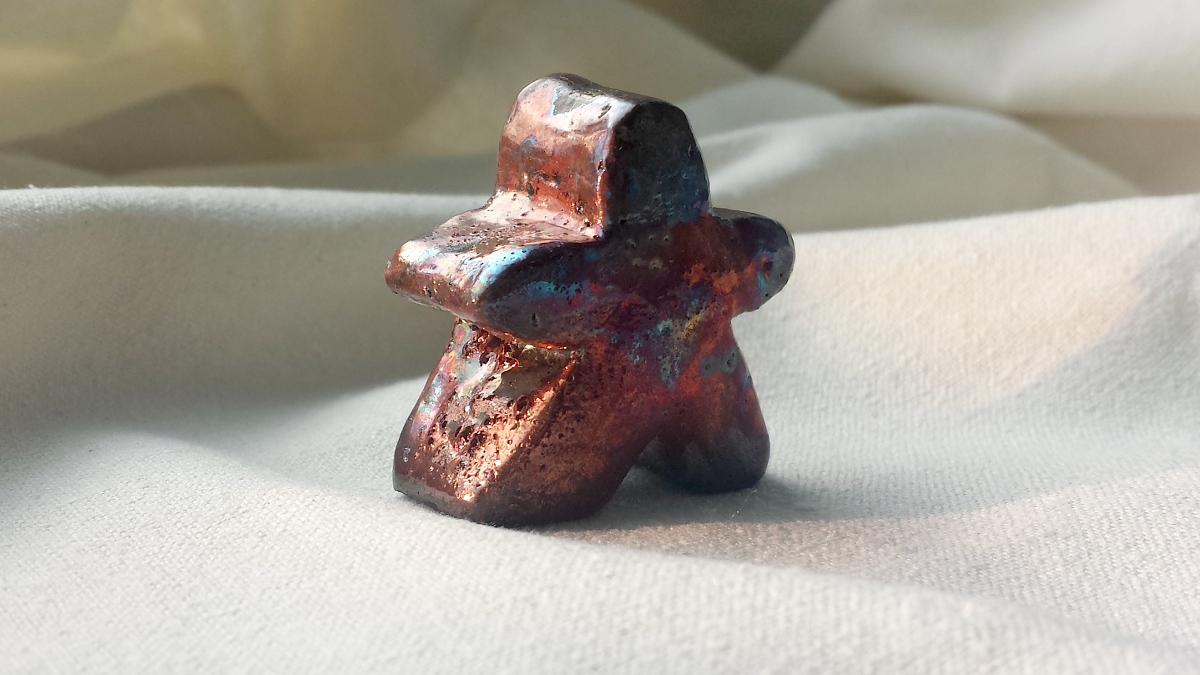
Inside the mucky dustbin, magic is happening – magic I don’t full understand but some sorcery that turns the outside of the clay a rich warm black (see the broken minoan bull below), and causes the chemicals in the glazes to change colour, depending on how much oxygen/carbon is available to them (the fire/closed bin reduces the amount of oxygen – hence “reduction kiln”).
It’s just about impossible to predict how Raku fired items will turn out – a short delay in the transfer between the gas kiln and the mucky dustbin will cause certain glazes to do one thing rather than another. Ditto how they sit in the sawdust, or where they sat in the kiln, or how the fire licks around the items, or a dozen other things.
An example of this can be seen on one of my little test pieces – the glaze on the bull’s belly is the same as under his chin, but the chin part had (I think) access to more oxygen so it went blue-y rather than coppery & metallic. (The crocodile thing is also the same glaze as the smallest Meeple below – the crocodile is a glossy green-brown with some metallic shimmers but the baby Meeple is full-on shiny.)
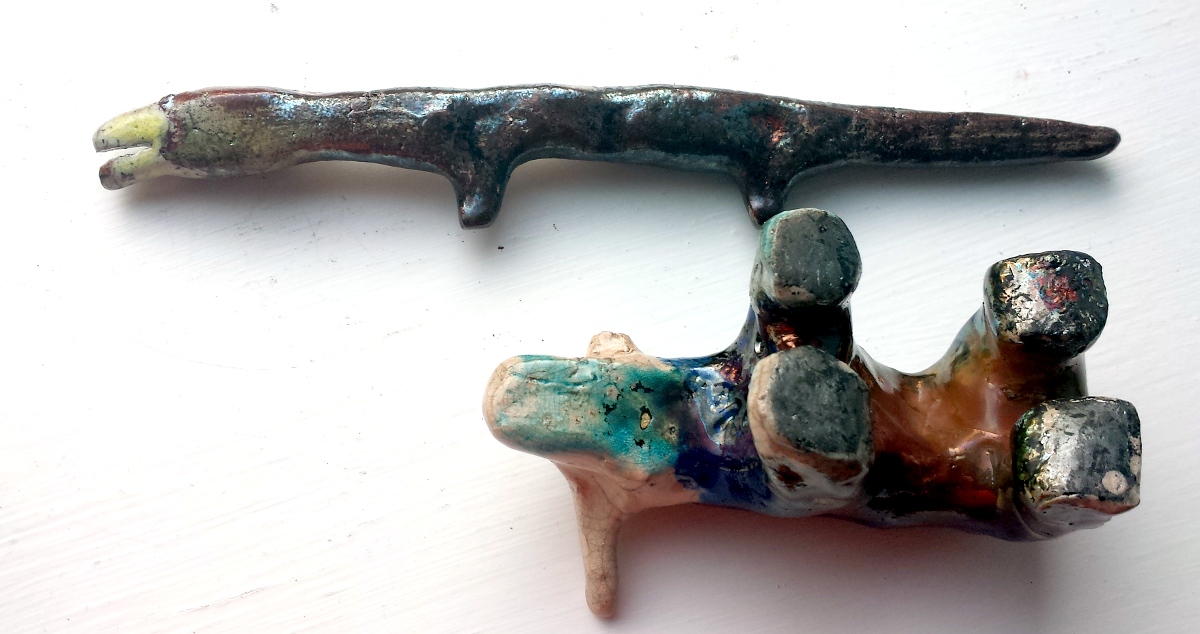
That’s another thing that makes the process exciting – you never know what you’re going to get or if your item will explode from the heat change either going into the reduction kiln or coming out of it. (or crack afterwards, like the minoan bull below). And in case that all wasn’t exciting enough, it only takes about half an hour from start to finish – a stoneware firing in our electric kiln takes a couple of days to get up to 1200C and come back down again – so you get to squeal about your freshly fired stuff straight away.
Raku items are known for their glorious shiny metallics and for crackles which get stained with carbon in the reduction kiln. As it was my first time Rakuing, I tried to get examples of both.
First up, the shiny-shiny.
(Warning: long, picture heavy post!)
Anyone who knows me in person or follows me on Twitter will know I’ve been really, really into pottery over the last six months or so – but I’ve shared very little online. For my own record – and so my mum can see what I’ve been up to, I decided to take some quick snaps of some (by no means all!) of my things.
(They’re not great pictures but they’re not great pots either so, you know, they’ll do ;) )
All made at the wonderful Hive, in Shipley. I took my first general pottery course there in the autumn term 2013 and another two (ceramics for outdoors & sculptural raku) earlier this year but these makes are mostly from drop-in sessions. What with drying times, waiting on kiln firings and all that sort of things, I usually take a good few weeks to finish any item – and by that time, I feel like my skills have moved on a shedload since I started. I don’t mind too much, but it does invariably mean I’m rarely happy with my finished items ;) Nevermind, it’s all a good learning experience!
(Roughly in order of ‘production’. Click for bigger images.)
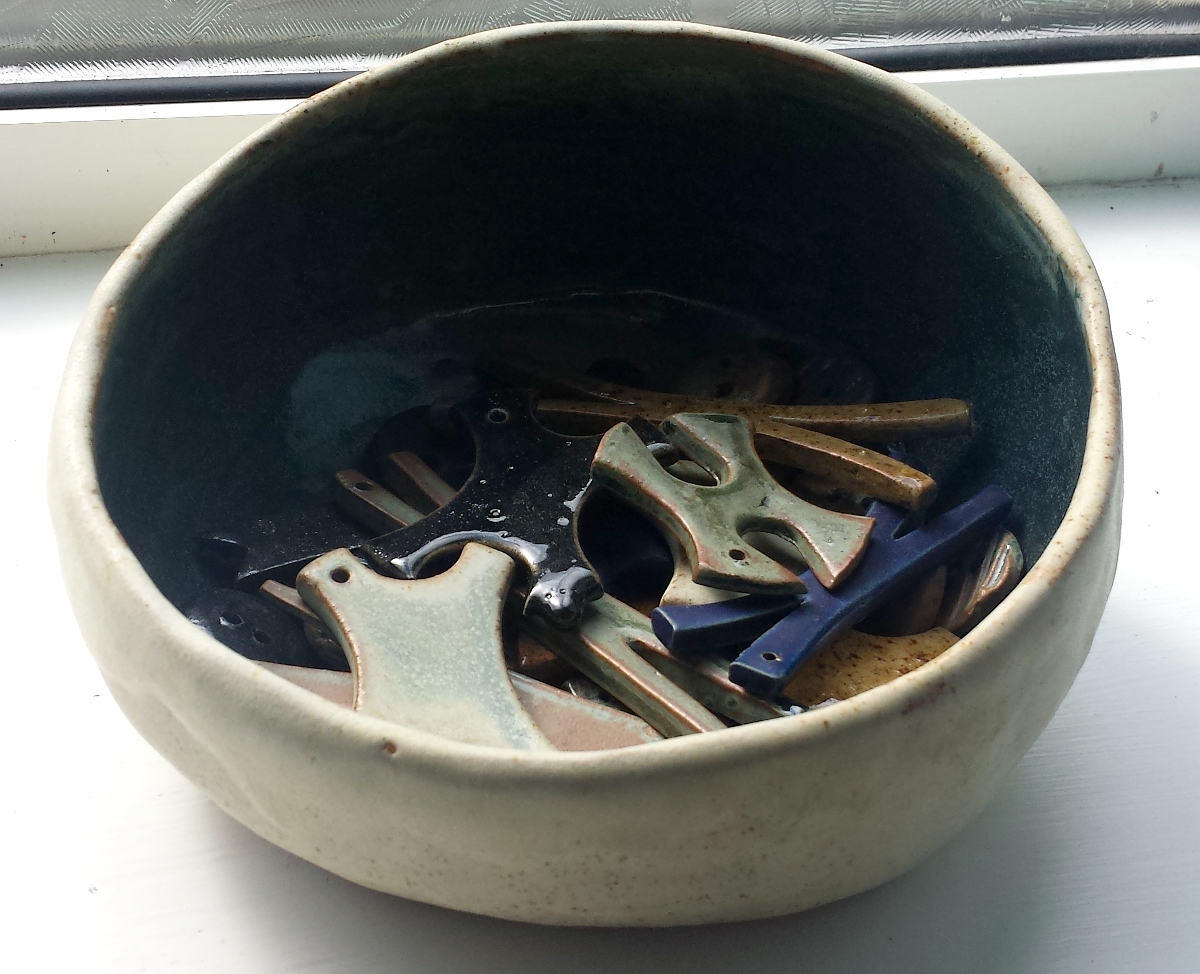
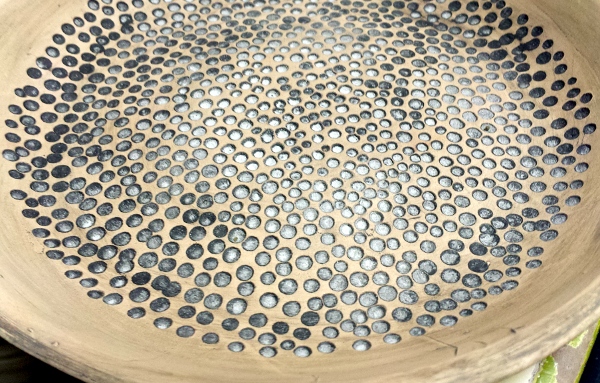
(filled with thread winders and buttons, see below)
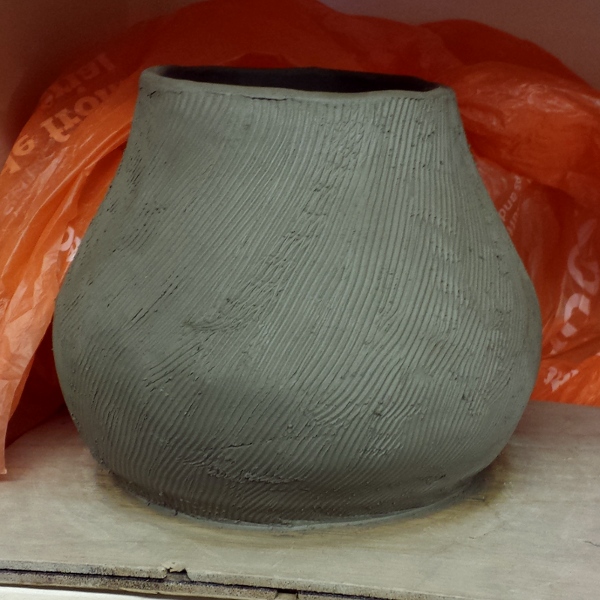
My second coiled pot, with a gently sloping rim. Matte-ish “speckled oatmeal” on the outside, shiny teal on the inside. Could have been a lot thinner and more sloping, but it was just about the first time that glazing actually went to plan.
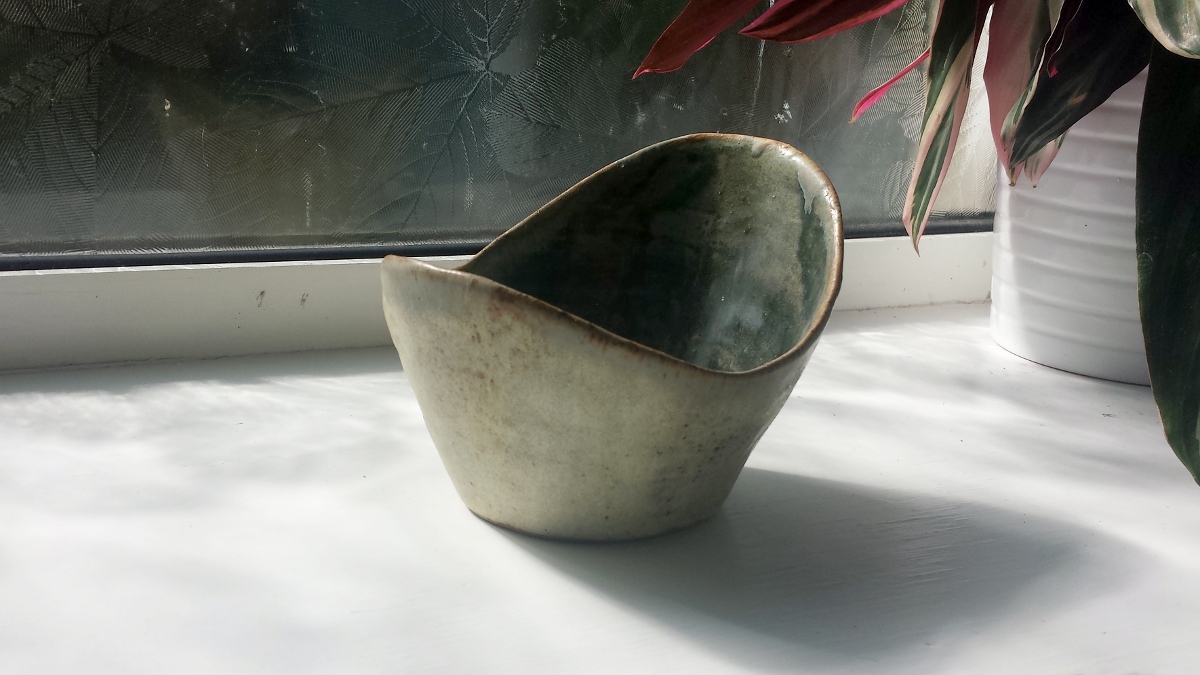
What I’d wanted to do with that first one but chickened out ;) A small bowl with a swooping rim. Coiled then thinned out. An experiment in refining – “how thin can I go?”. I messed up the glazing a bit (it’s the same as above, but is a bit patchy), but I love the shape and lightness.
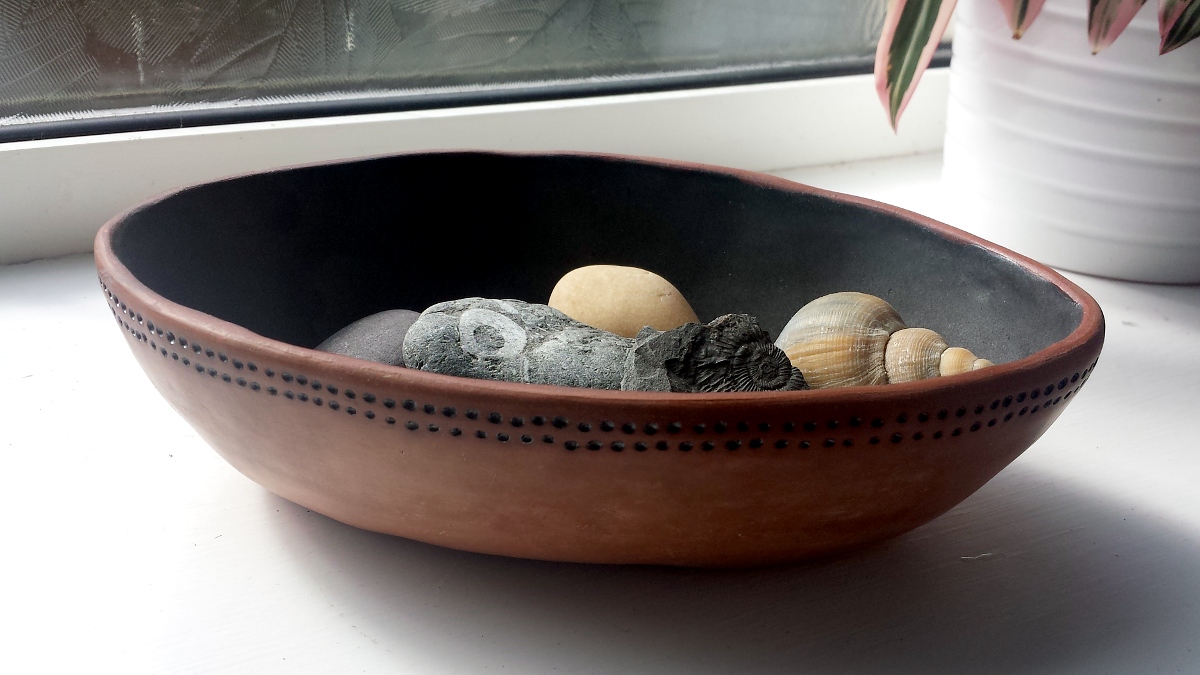
One of my first pieces in terracotta – I hated working in terracotta (it’s sticky and stains everything red) but then I realised the red/black contrast would work so well that it was worth the hassle. An early experiment in burnishing – could have been shinier but at least it’s smooth, and the glazing went well too. One of my first pieces that I really liked – hence all the other red-and-black stuff below.
Continue reading
Coming out of 2012 (“the year that didn’t really happen”), I had just one goal for 2013 – make more stuff. For once, I completed every single ONE of my goals! ;)
I actually made a lot of stuff this year – learnt a lot of new skills and vastly improved some old ones. I have documented just a fraction of them for posterity though – my first goal for 2014 is to build a light box to photograph them properly ;)
In each section, they’re vaguely in the order in which I did them but I jump about between crafts like a manic grasshopper on blue Smarties and Kiaora ;)
As well as sewing, I also started a pottery course at Hive in September. I’ve been idly wanting to play with clay for years and I’m very much enjoying it – I doubt I’ll ever be particularly good at it and most of my work is rather rubbish at the moment but it’s fun and I am slowly getting better (it’s a very long winded process – making progress takes weeks and weeks!). I’m on another two courses – a general class and one on Raku – for the winter/spring and summer terms and I’m going to continue working on my own stuff outside of class too.
I’ve essentially finished some more things as well — I did a load of glazing just before the break but they haven’t been back into the kiln for a final firing yet. They’re finished as far as I’m concerned though – just got to wait for the kiln to be run (this week or next).
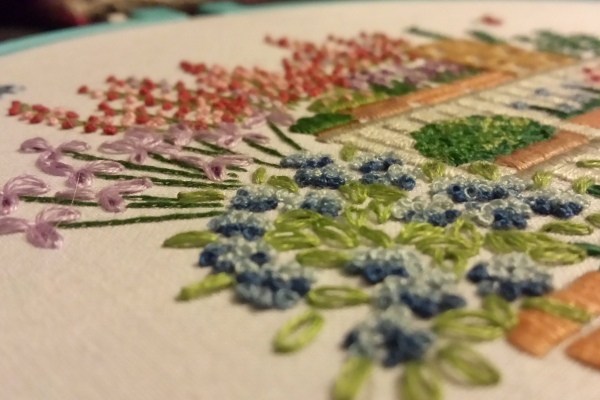
Like all crafters, I started way more things than I finished. Though often useful as learning tools (such as my silk ribbon flower broach and the stumpwork butterfly, both from the Knitting & Stitching Show classes), some of them will never be finished. These ones though, I hope to finish at some point.
I have a metric bajillion plans for future makes in 2014 – hopefully I’ll do a better job of documenting them as I go (for reflective learning as well as ta-dah showing off ;) )
© 2025 Louisa Parry