Another long and picture heavy ceramics post! ;)
 In March, I started a Sculptural Raku course at Hive Bradford.
The Course
The ten session course used to be called “Angels and Acrobats”, with the focus on building sculptural figures that really come alive in a beautiful way when raku fired. To inform the figure building process, the course included two life drawing sessions and another session where people could sculpt models from the life drawing model, Sue.
I somehow missed the sculptural/figure focus when I signed up for the course: I’m not particularly into sculptural ceramics work in the first place (I like bowls and pots, mmm bowls and pots) and the life drawing fell during a super busy fortnight for me and pushed my social anxiety stuff over the edge. Thankfully the lovely tutor and I came up with a compromise: I researched animal figures from early civilisations and while my class mates finished off their sculptures of Sue, I made a herd of minoan bulls, a hittite-ish horse and a reptile/crocodile inspired by a picture I found in a book about Aboriginal art. (I made a Pinterest board as part of my research; it also includes Joan Miro and other chance/automatic art, as I was considering going down that route for a while too.)
We then had a couple of weeks to work on our own sculptural pieces for raku firing: I made a family of Meeple, an Etruscan-inspired horse, and … a couple of bowls – I couldn’t resist ;)
There was then a pause for a couple of months as the tutor was off sick but we finally fired our pieces over the last fortnight.
Raku Firing
The Raku firing process is very different to our normal firing: the pieces were fired to “bisque” in the electric kiln as usual, but then, instead of glazing and firing in a very slow, controlled fashion (and cooled down in the same slow, controlled fashion), Raku is very fast and exciting, involving lots of red hot stuff and fire. (Yes, fire fits in the “red hot stuff” set but I wanted to highlight that the process involves flames. FLAMES!)
Raku firing takes place outside. The pieces (which are made with a “grogged” clay, to be slightly less susceptible to thermal shock) are heated in a gas kiln until the glaze is molten – the clay body itself doesn’t look that hot but boy, it is – it’s about 800C! Then, a daredevil opens the kiln and using a pair of metal tongs, transfers each piece into the reduction kiln – aka a “mucky dustbin” about one-third filled with sawdust. The sawdust immediately bursts into flames, a little more sawdust is thrown on top then the bin is covered with a lid (and damp cloths to reduce the smoke leakage).
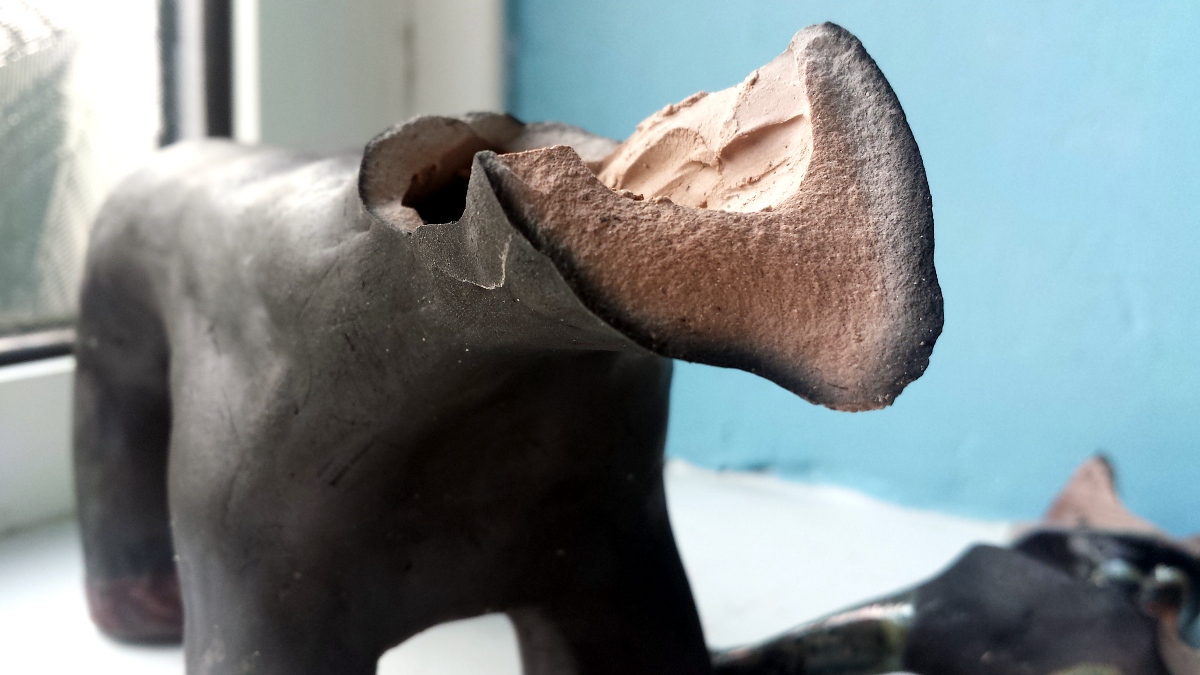
Inside the mucky dustbin, magic is happening – magic I don’t full understand but some sorcery that turns the outside of the clay a rich warm black (see the broken minoan bull below), and causes the chemicals in the glazes to change colour, depending on how much oxygen/carbon is available to them (the fire/closed bin reduces the amount of oxygen – hence “reduction kiln”).
It’s just about impossible to predict how Raku fired items will turn out – a short delay in the transfer between the gas kiln and the mucky dustbin will cause certain glazes to do one thing rather than another. Ditto how they sit in the sawdust, or where they sat in the kiln, or how the fire licks around the items, or a dozen other things.
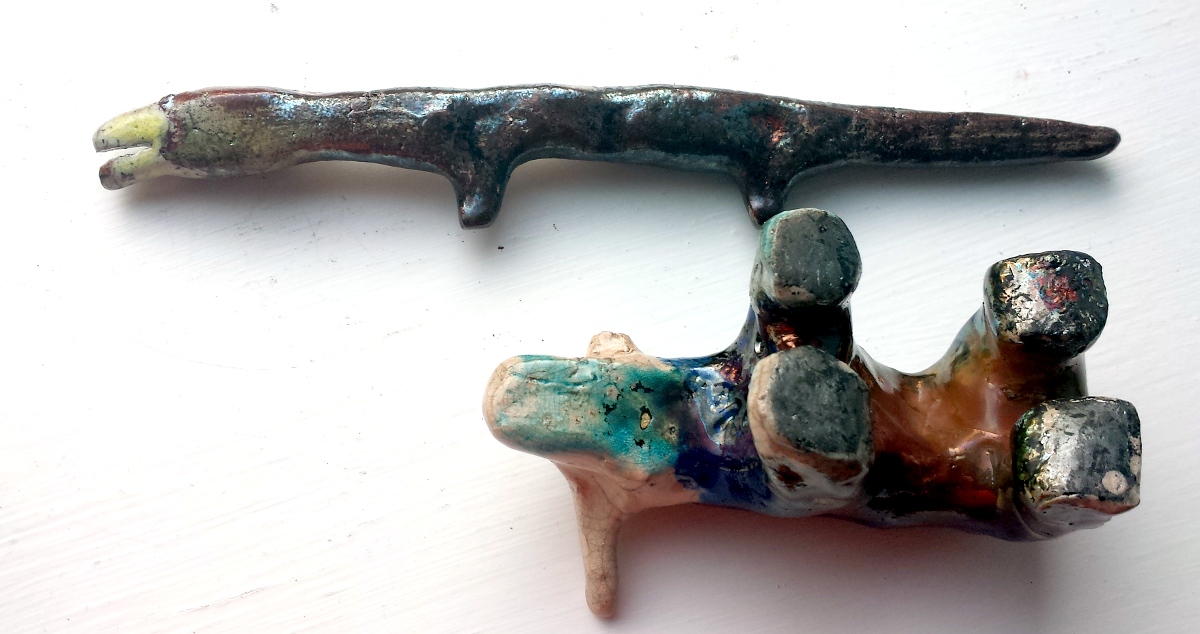
An example of this can be seen on one of my little test pieces – the glaze on the bull’s belly is the same as under his chin, but the chin part had (I think) access to more oxygen so it went blue-y rather than coppery & metallic. (The crocodile thing is also the same glaze as the smallest Meeple below – the crocodile is a glossy green-brown with some metallic shimmers but the baby Meeple is full-on shiny.)
That’s another thing that makes the process exciting – you never know what you’re going to get or if your item will explode from the heat change either going into the reduction kiln or coming out of it. (or crack afterwards, like the minoan bull below). And in case that all wasn’t exciting enough, it only takes about half an hour from start to finish – a stoneware firing in our electric kiln takes a couple of days to get up to 1200C and come back down again – so you get to squeal about your freshly fired stuff straight away.
My first Raku pieces
Raku items are known for their glorious shiny metallics and for crackles which get stained with carbon in the reduction kiln. As it was my first time Rakuing, I tried to get examples of both.
First up, the shiny-shiny.
The smallest Meeple. This little guy is about 3cm tall and is covered all over in the green-brown glaze, but as I mentioned above, it came out a lot more metallic on him than on the crocodile.
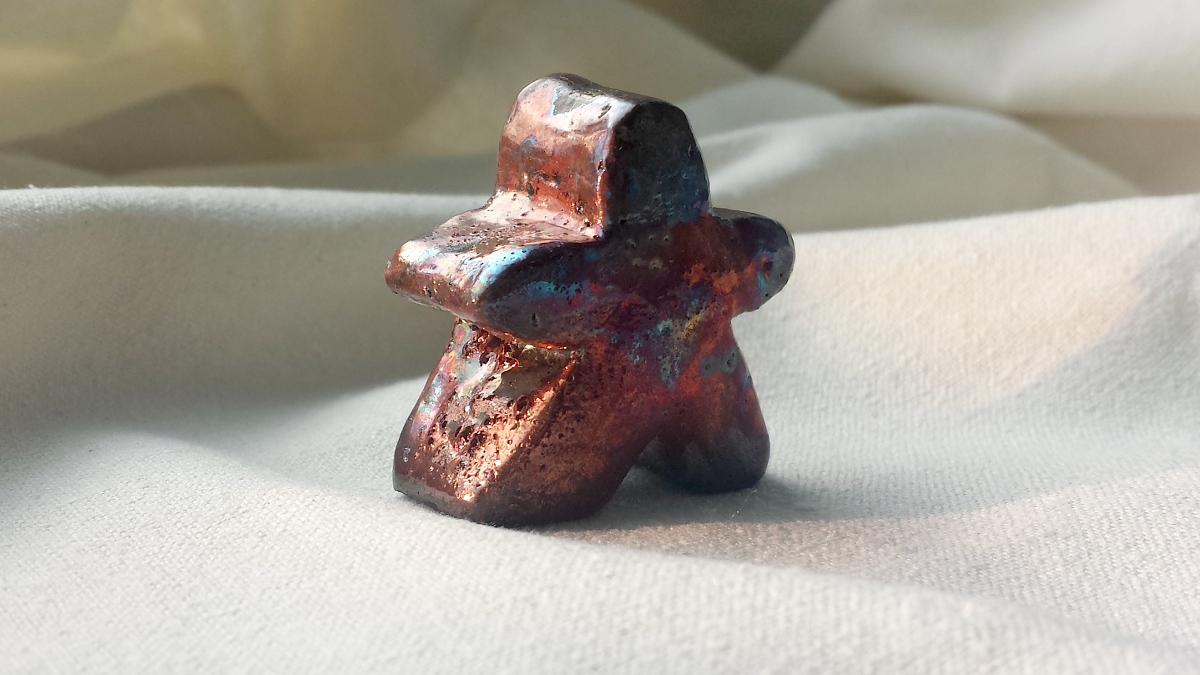
This is second to biggest Meeple in my set, about 8cm tall, and was done in “turquoise” with some black glaze around the feet and splatters of black up to about his waist (so there wasn’t a strong line where the colours changed). I glazed him before really knowing how the turquoise would work – I thought it would be the under-the-chin blue rather than copper, but I love the copper so much. The other side of the Meeple is smoother, almost marbleised metallic but this side is lightly textured – possibly because of how it was sat in the sawdust?
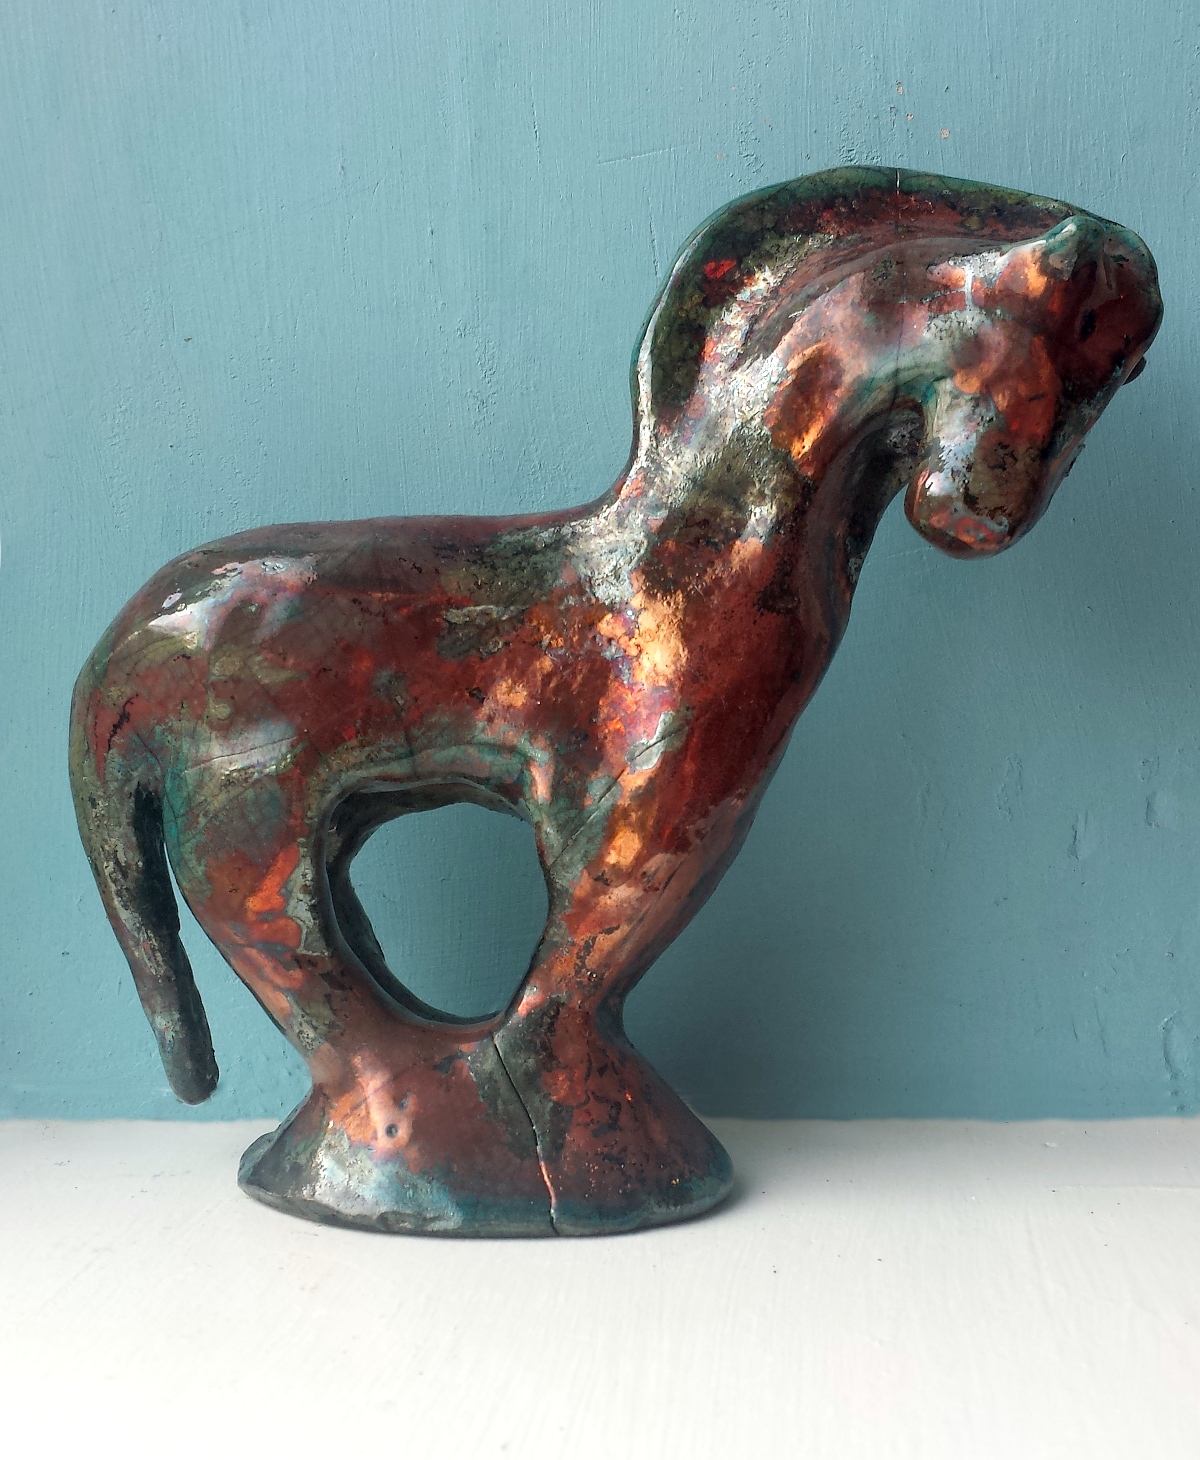
This horse, which is a bit wonky (though not as flat as he looks in the photo) but was inspired by a beautifully graceful bronze Etruscan antelope, is also in turquoise and has similar smooth/textured sides – though in this case, I prefer the smooth (which is good, because that’s the “front” and also there is a little kiln shelf or something stuck to the back of the head). I wanted it to look coppery, with the bluer bits almost appearing like verdigris. There are some cracks in the base and appear to be more elsewhere, so I didn’t want to scrub at the residue black staining too much – it also might crack at a later date, but I’ll enjoy it while it’s whole!
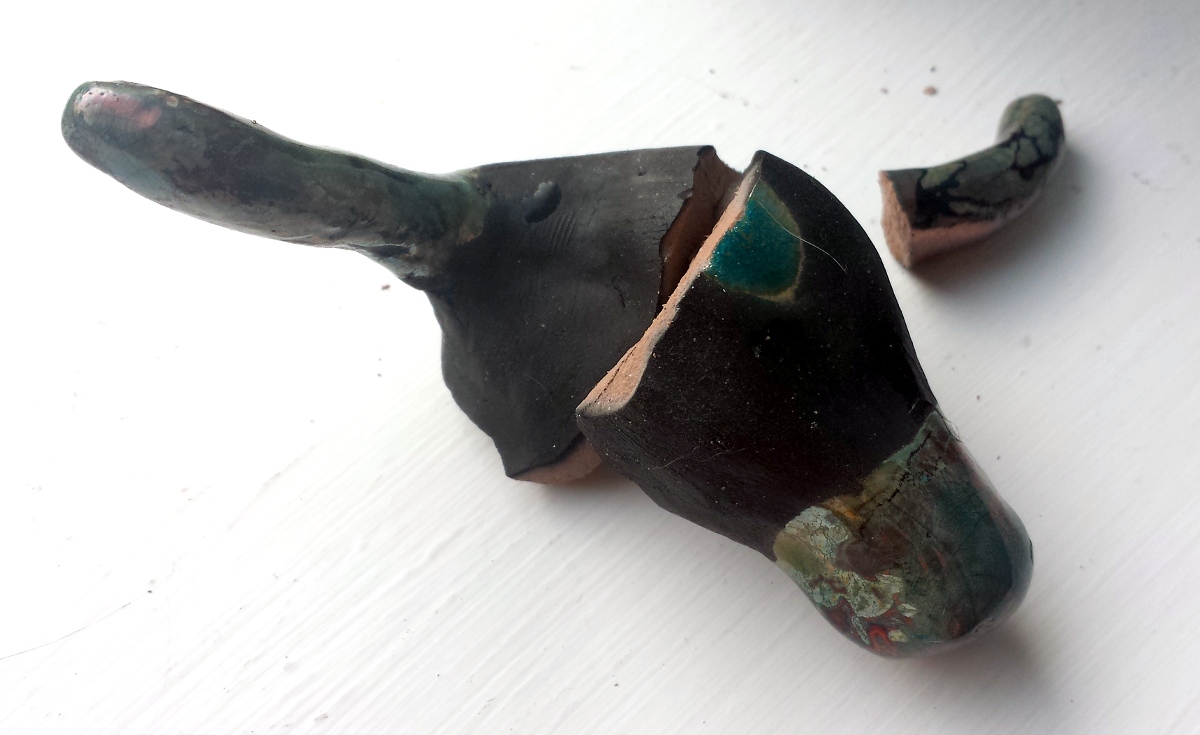
And speaking of breakages, this is the minoan bull that broke – it seemed to survive the Raku process and the journey home but broke when I was cleaning up the horns. It’s a shame because I loved this guy – he was the last bull I made so the best/most refined, and I like the contrast between his black body and his shiny horns, nose and a sun-spot on his head (those they all came out on the turquoise side of the glaze, rather than coppery). Still, his breaking allowed to me to “ooooh!” at how far the carbon coloured the clay.
Cracks are, of course, undesirable but as I said, crackles are a key feature of a lot of Raku work.
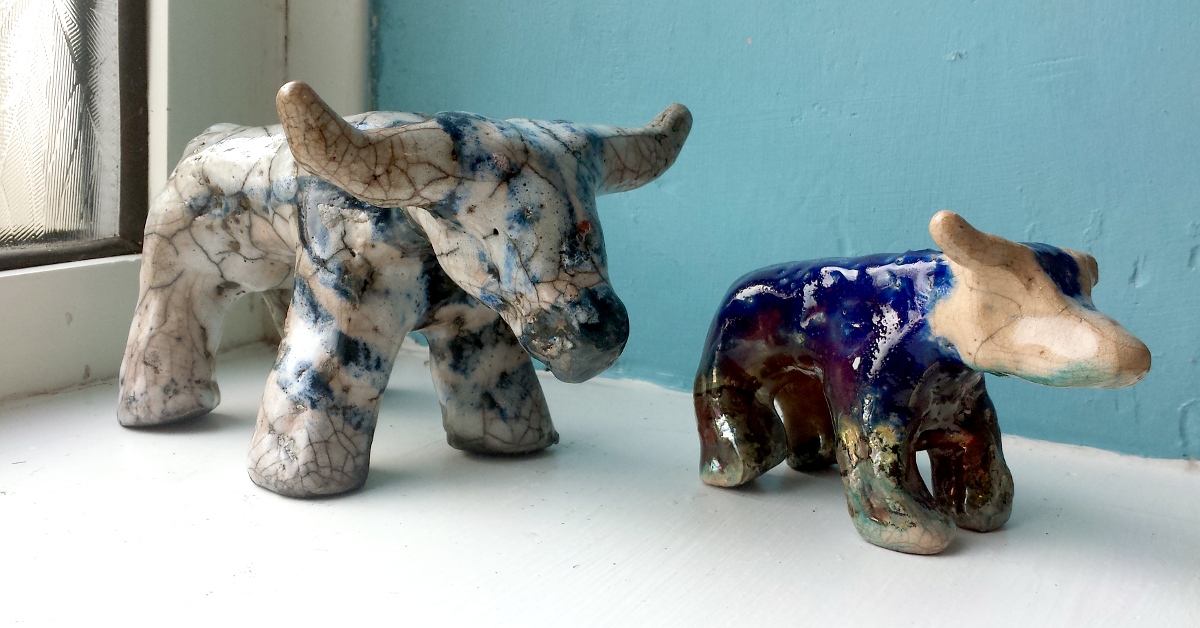
I wanted a crackly bull – and tried to combine that with the markings on the right guy on this picture, which unfortunately just made it all a bit messy. I couldn’t have planned the large-crackles-on-back, small-crackles-on-horns better though. (Pictured with the test bull.)
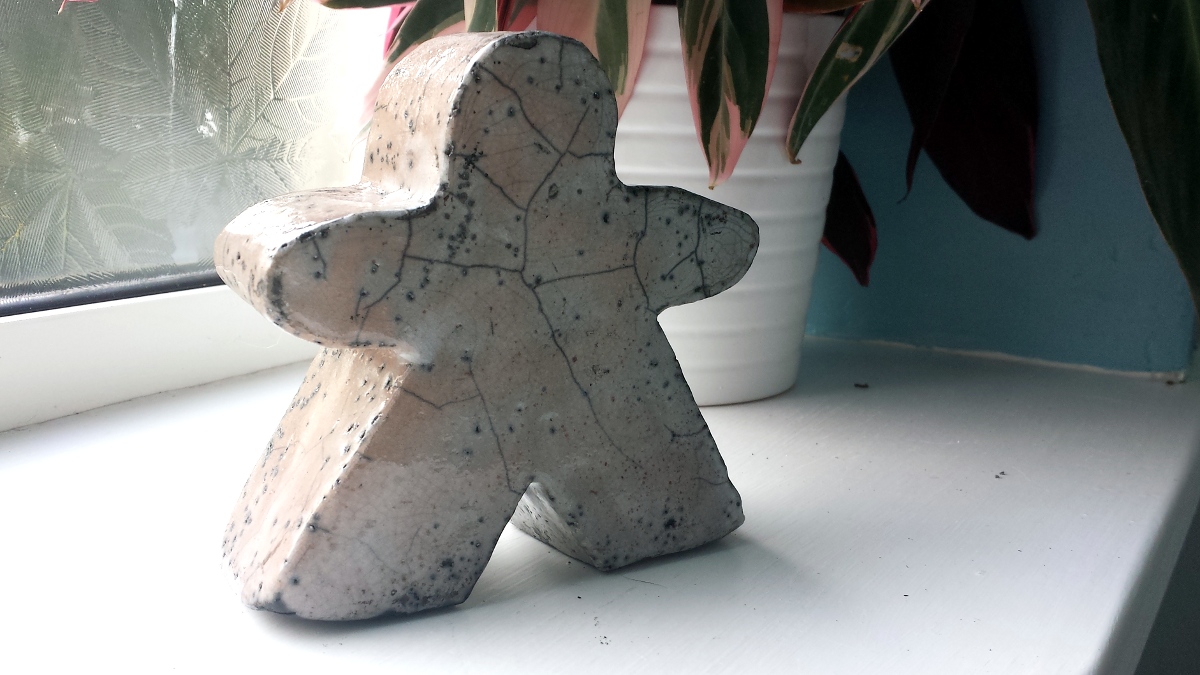
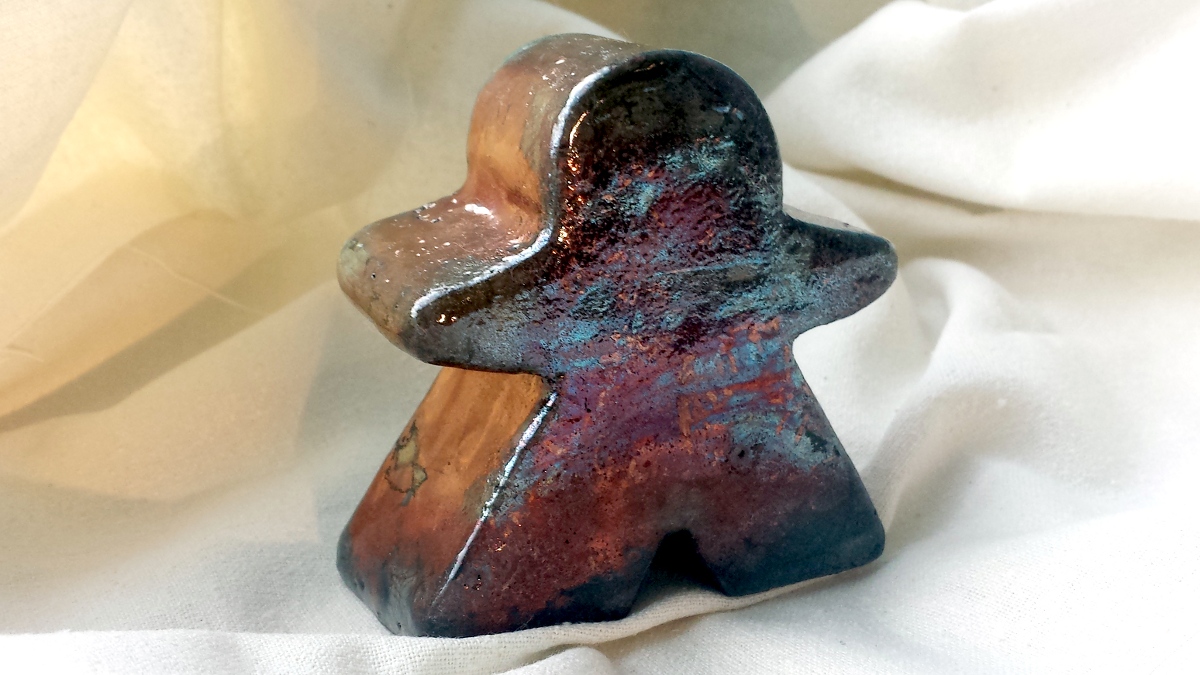
I also wanted a crackly Meeple, and running out of time, I decided to do an all over white large-crackle glaze on the largest one – I was really running out of time and I got my buddy Amanda to apply the gloop. She had other – better – ideas but I couldn’t picture them in the moment so we went for the all over option instead. I wish I’d thought about it a bit more carefully – I think crackle white on the front/back and black sides (or vice versa) would have been a lot nicer. Nevermind though, it’s a good example for me of large crackling (and, I think, of sugar thrown into the kiln to get the spotting?).
(Amanda made, amongst other things, an amazing gorilla, though I think he’d look much better with an eyepatch. I took some mid-process pictures of him – he’s just come out of the reduction kiln and we’re spraying him with water to cool him down. Check out the swirling smoke and glowing embers in the sawdust stuck to his bum!)
Smoke-firing
We also experimented with horsehair & sugar as a decoration technique, and the lovely tutor also kindly showed me how to smoke-fire items last week. (I tried to do my own smoke firing at home a few weeks ago: the only things I successfully smoked were my eyeballs.)
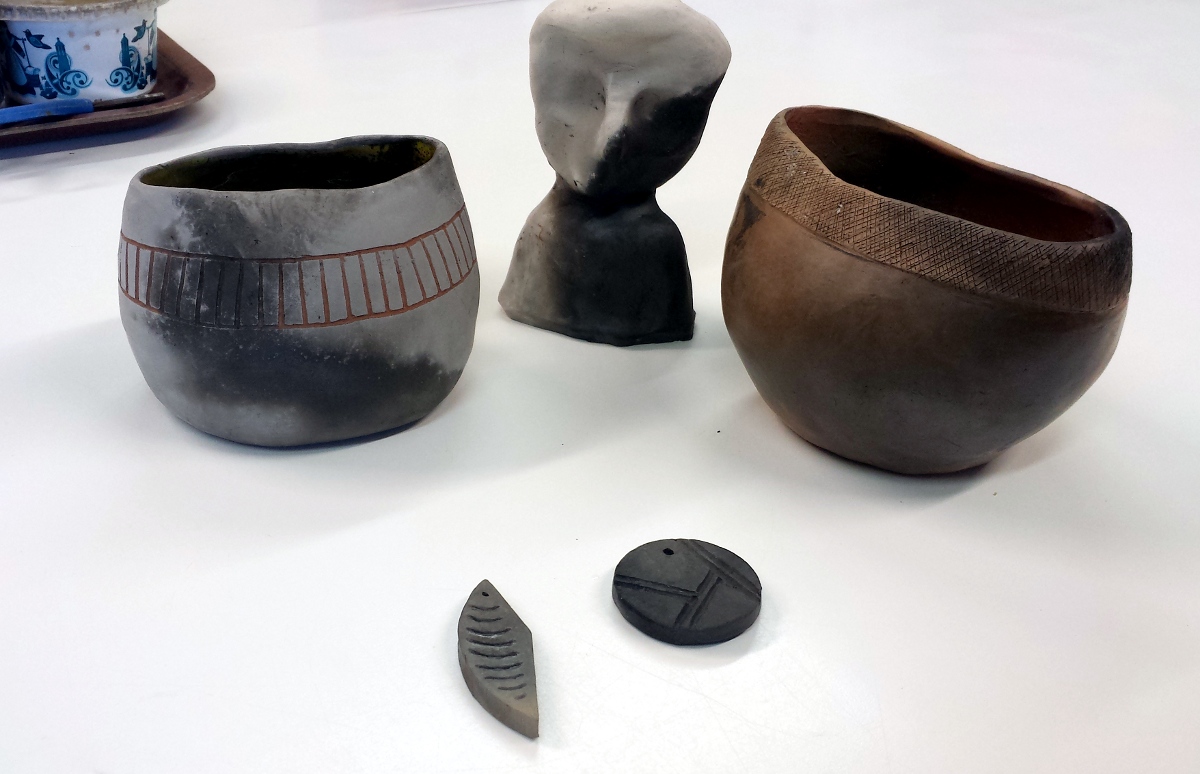
I smoke-fired a terracotta pot I made at the start of the year, a strange bust thing I made last autumn (which is, possibly, the thing that put me off sculpture – I would have recycled it before bisque but I thought it would be useful for glaze testing or similar — which is how I’ve used it here), a black slip-coated terracotta pot that has already been fired to earthenware (with a yellow-ish glaze inside) and two little pendant type things.
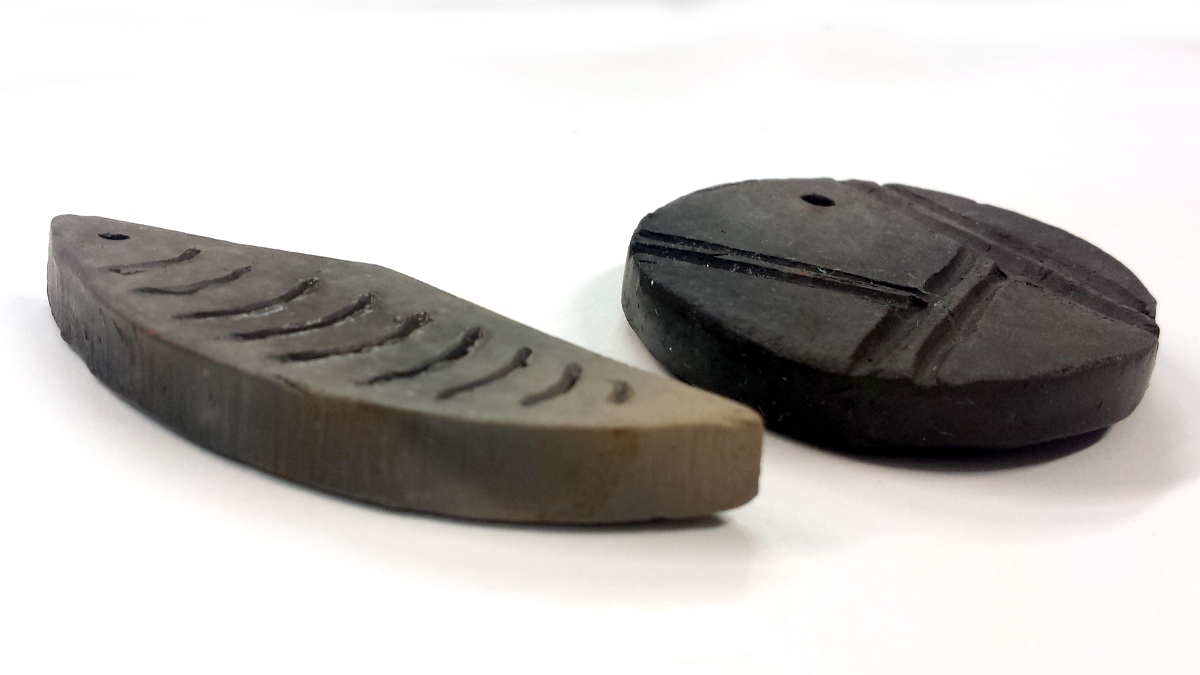
The pendants are probably my favourite pieces from the smoke-firing (even if I did forget about them on the day and had to go hunting for them in the dowsed sawdust remains yesterday afternoon) – the round one is a relatively uniform soft black and the other one looks like it’s been dip-dyed in smoke (for want of a better description). Other people like the contrast between the black and the raw clay of the bust (I do too, but find it more intriguing than anything – what stopped that side getting smokey at all?) and the varied smokiness of the terracotta pot – it’s only like that on one side though, the other (& inside) is just a bit patchy, as is the whole of the black slipped pot. I might try smoke firing them again when I have enough items to warrant doing a load at home.
My future with Raku
It would be possible to do a Raku firing at home too – the little gas kilns are not quite as expensive than electric ones (they can be made relatively easily too) – and I am tempted. I’m not a sculpture/figure maker but I very much like the bowls I made & Raku fired. (I’ve not been able to photograph decently yet but they’re glazed with my favourite turquoise on the inside – which has gone copper in one, and a greeny in the other – and are burnished & a beautiful rich black on the outside, with some coppery glaze spatters for interest – you can see them in the very small picture at the top.) The process is terrifying but results in such interesting pieces that I might be able to get over the fear!
I would highly recommend Raku firing (and indeed, the Hive courses) to anyone with any pottery/ceramics experience – I’m not sure I could cope with the unpredictability or the excitement if it was my very first ceramics adventure!
Many thanks to Rachel & Jane H at Hive for fabulous teaching, and for Gill for running a second kiln on our second day – we were incredibly lucky to have access to such a fantastic range of knowledge and skills.
Leave a Reply